Wednesday, July 1, 2009

Tutorial: Reversible Tissue Box Cover


Thanks so much for lots and lots of sweet comments
encouraging me to write up a tute for the tissue box cover
and I'm sorry I couldn't catch up with you guys sooner.
I had some other projects to wrap up and school kept
me pretty busy for the past few weeks. But here I am back
with the tutorial for a super easy + quick reversible tissue box cover!
Hope you'll enjoy.... ;)


***Fabric Measurements for a tissue cover that will
fit on a tissue box including Kleenex 200 ct.***


Exterior
Eight 7 1/2" x 2 7/8" pieces
Two 5 1/2" x 4 5/8" pieces

Interior
Two 7 1/2" x 10" pieces
Two 5 1/2" x 4 5/8" pieces

(1/4" seam allowances included)

***Other supplies***

elastic strip (3/4 wide, 5 1/2" long)
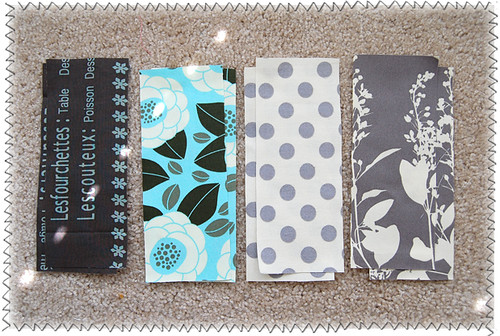

step1
Let's cut out eight pieces for the exterior cover.
I chose 4 different fabrics, two pieces from each.
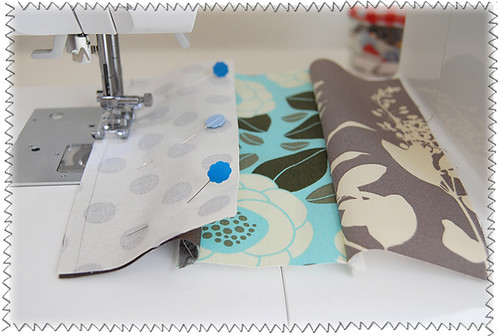

step2
Now with right sides together, sew four
pieces together, aligning long edges.
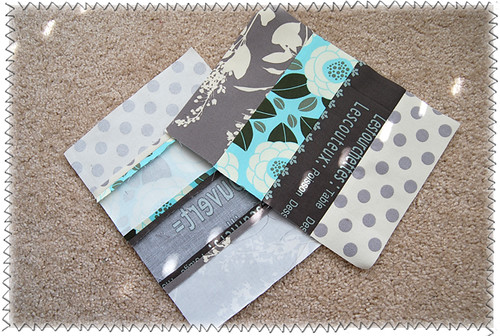

step3
Repeat it with the rest of the four pieces
and press seam open. Now you have two patchwork panels.
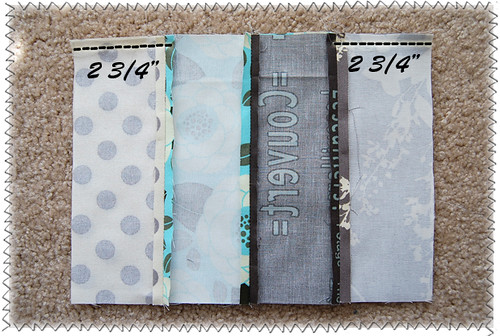

step4
With right sides together, sew the top edge just 2 3/4"
for left and right sides leaving a big opening in the middle.
(Remember to backstitch at the end toward the middle.)
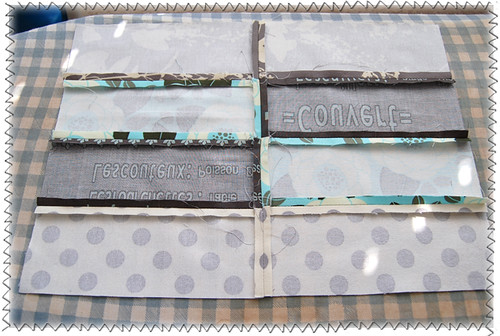

step5
Press seam open, including the middle part which you didn't sew.
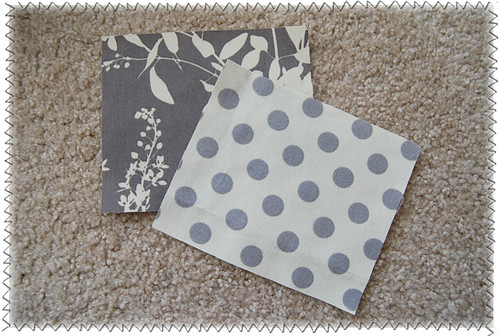

step6
Now let's work on the sides of the exterior
cover. Cut out two pieces of fabric according
to the dimensions given above.
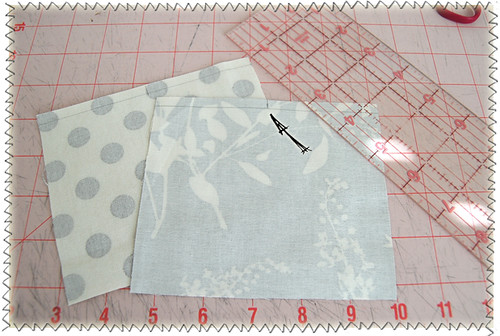

step7
For each piece, make a little mark in the center in the
top edge which you can measure 2 3/4" from one side.
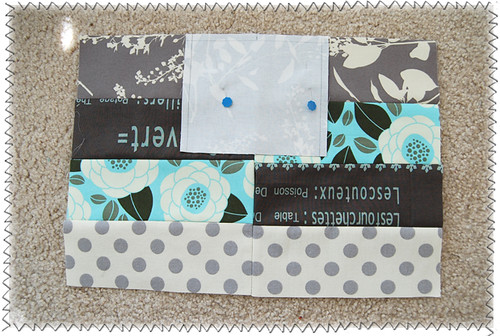

step8
Match the mark on the piece with the center
of one of the long edges of the main panel.
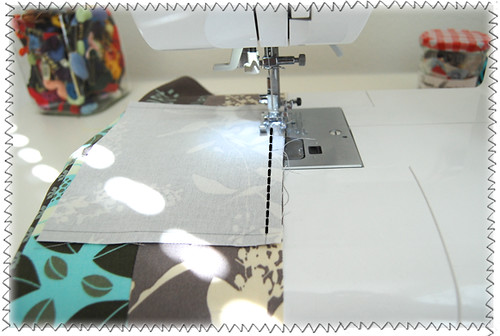

step9
Sew the top edge of a side piece onto the main panel.
Make sure to backstitch before you reach the seam
lines on the sides.
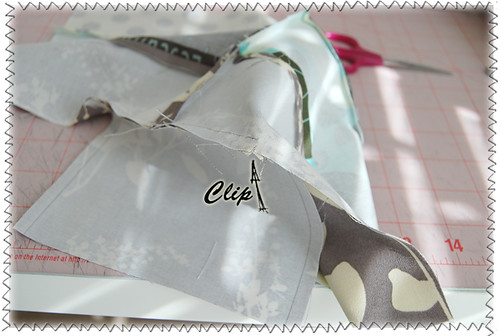

step10
Clip into the seam allowance but make
sure not to cut beyond seam lines.
Do the same for the other side of corner.
(This makes the next step 10 times easier!)
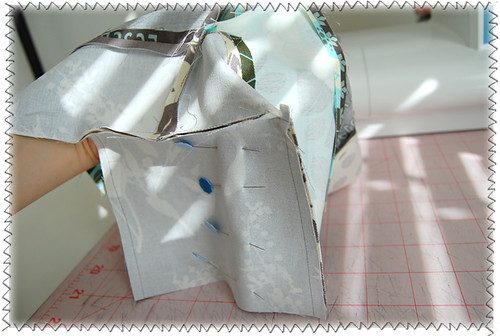

step11
Align the right edge of the side piece and
the main panel like this and sew them together.
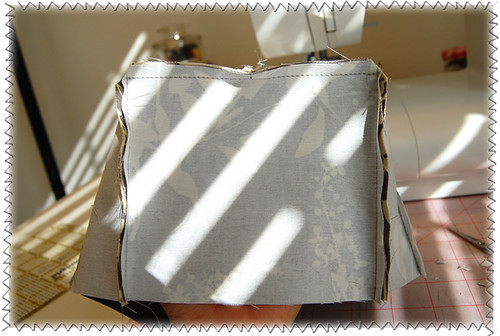

step12
Repeat it with the left edge of the side piece
so that one side of the exterior cover is complete.
(Important note: Make sure to trim the top corners
as depicted in the photo. Doing so makes the tissue cover
less bulky.) Now, repeat to sew the other side to
the exterior cover.
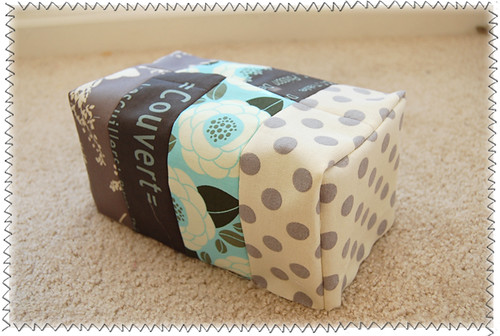

step13
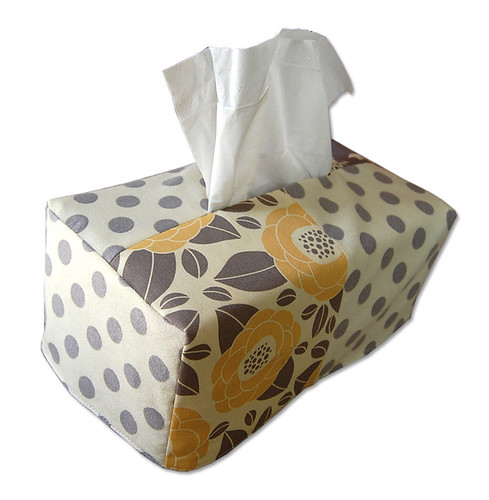
Hooray! The exterior cover is completed!
Let's now move onto the reversed side!
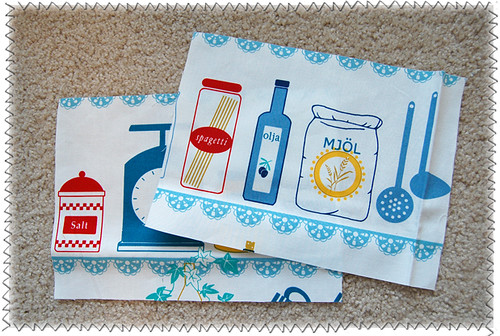

step14
It would be perfectly fine if you choose to make patchwork
panels for the interior just like you did for the exterior,
but here I am simply using two panels cut out from just one
fabric just because I felt a little lazy. Forgive me ;)
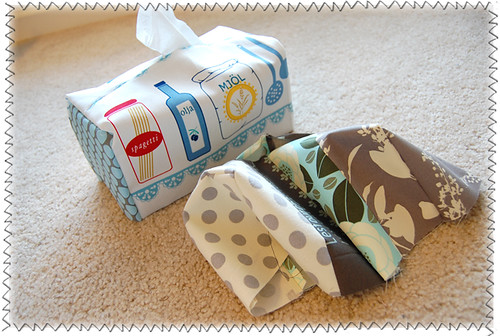

step15
Complete the interior cover in the exactly same way as the
exterior cover (in this case, excluding the patchwork part.)
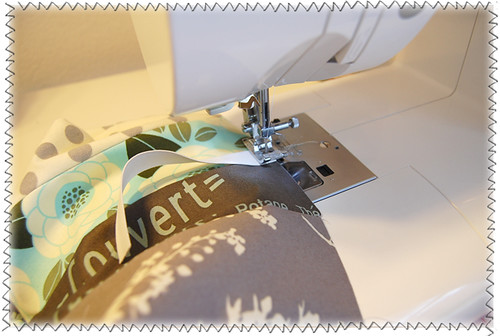

step16
In the center on one of the long edges of the exterior cover,
Baste a strip of elastic, very close to the edge.
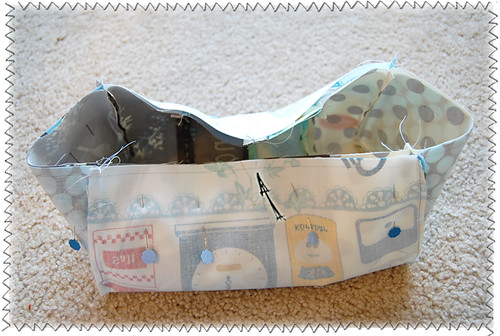

step17
Make a mark in the center of the other long edge.
This will be a reminder for you to sew the other
side of the elastic strip in between.
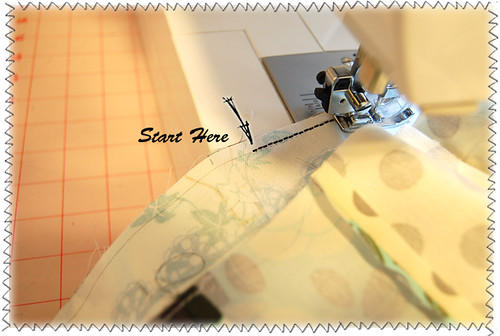

step18
With right sides together, align and pin the the exterior and the interior.
Sew the bottom edges, starting from the point about
an inch away from the mark you just made.
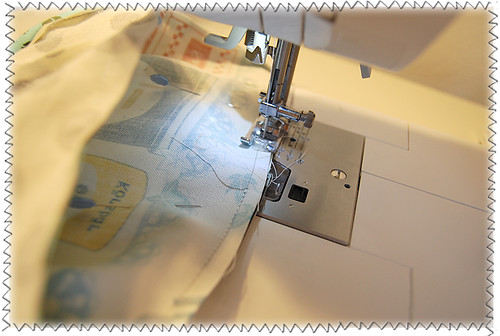

step19
When you're about to reach the mark, backstitch
about an inch away from the mark so that you have
two inches wide opening centering the mark.
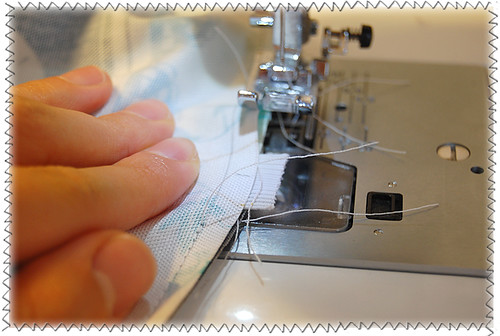

step20
Yup, Exactly. You don't wanna forget to attach the
other short edge of the elastic to the bottom! Using your fingers,
pull out the short edge of the elastic, place it
between the covers, and sew it up in place.


step21
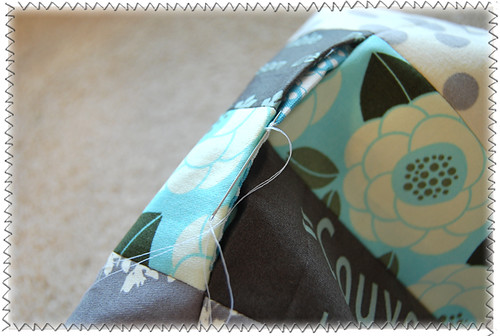
Turn the cover inside out and topstitch at the bottom.

step22
Lastly, hand-sew the top part of the cover, connecting
the openings of the exterior and the interior.


Then your reversible tissue box
cover is complete!!! Woo Hoo!!

pe1-2-1-11.gif


This cover will fit on a tissue box measuring 8.2" x 8.4".
(Kleenex 200ct, the most standard one that I found
at Walmart, will be perfect for this cover.)
I'll go and get other standard tissue boxes including
the cube one and come up with dimensions to make
tissue covers for them later, and share with
you the dimensions here.

I totally agree with some of you who told me that
it's so hard to find a tissue box at stores that
will match well with your rooms. It's just a tissue
box, but it make a pretty big, nice difference
if the one in your room is covered in the color/
design/pattern that you love to look at.
Trust me on this one!

Like some of you said, I think this will make a
great holiday gift. How about making a reversed
side a holiday pattern? ;)

When you make reversible tissue box covers,
Take a photo and share your tissue box covers
in this flickr group!

I'd also love it if you could let me know what you think
of this tutorial in the comments too!

Thanks for coming and reading!!


Reversible Tissue Box CovertttReversible Tissue Box Cover

Tuesday, June 16, 2009

Reversible Tissue Box Cover


Reversible Tissue Box Cover
Hi all! Thanks for those of you who gave me an advice on
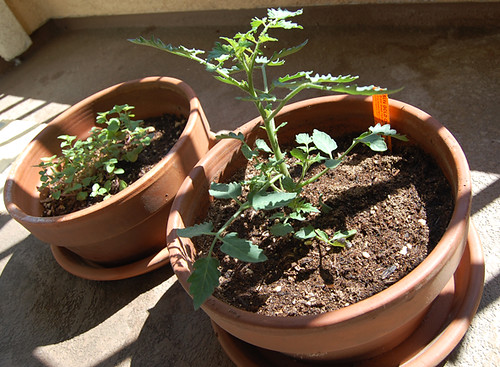
how to help the tomato plant grow better!! I bought
some fertilizer for it and am giving lots and lots of
water. In just two weeks, it got twice bigger, so I have
to go and get some stakes for the plant pretty soon!

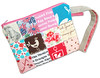
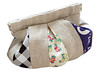
By the way, this is the thing I wanted to show
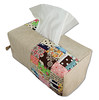
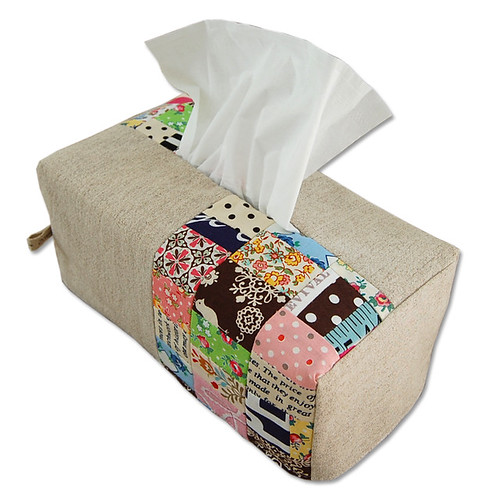
you guys: Tissue Box Cover! I used a little scraps
and natural linen for this side. A little busy?
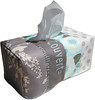
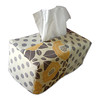
Maybe. Then just flip it over ;)

Reversible Tissue Box Cover

Woo Hoo! It's reversible!!
If this is something you guys want me to make
a free tutorial for, I'd love to. I've got all the
measurements down ;) It's easy to make and just like
the fabric basket, it is very practical and
decorative at the same time.

Reversible Tissue Box Cover

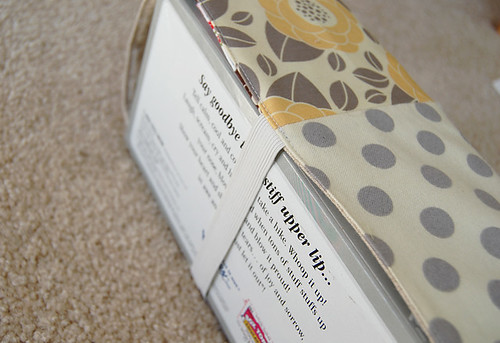
Elastic at the bottom helps the cover stays even
when you pull tissues roughly. I made one without it
at first and realized I need this or else the cover
would come off easily.


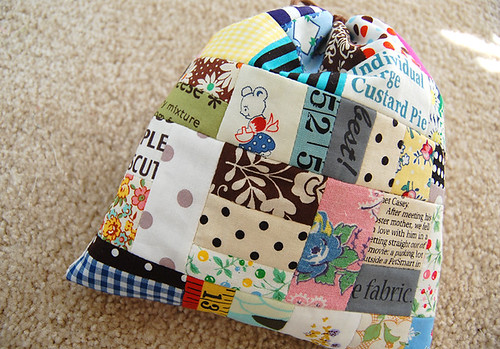
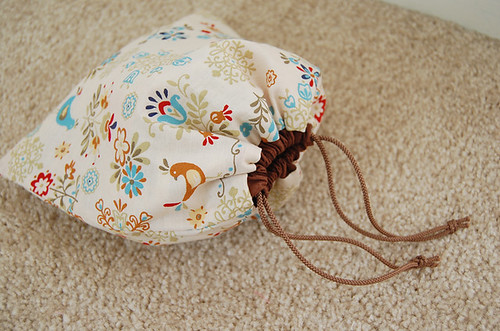
drawstring bag

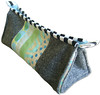
I also finished the little scrappy drawstring bag.

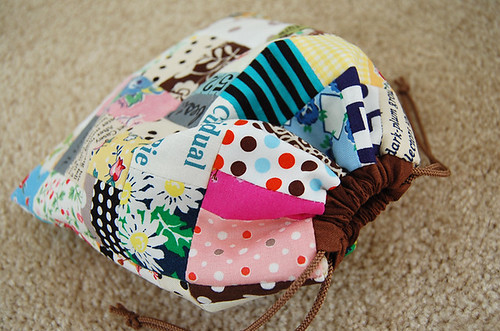
drawstring bag

Reversed:

drawstring bag

Sewing is so much fun. I just love it.


Thanks for stopping by and reading!


Monday, June 8, 2009

No.1 Apple Pie

pot2

After a brief look at at the preview of this new book by Suzuko Koseki,
one of my favorite Japanese fabric designers, I was so inspired
that I immediately had a surge to make a potholder!
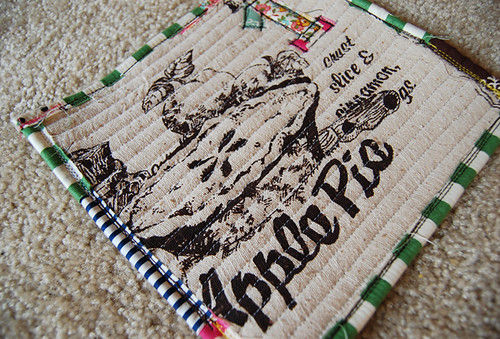
I had this great feedsack fabric that I've wanted to put
into use. Because the pattern on the fabric is so big and
is kitchen-themed, a potholder was definitely a great choice!

pot1

Such a beautiful print, isn't it? My plan was to attach
a bunch of appliques on it, but as I realized soon that
it might be better if I didn't add too many things so that
the center of attention is unquestionably the Apple Pie ;)
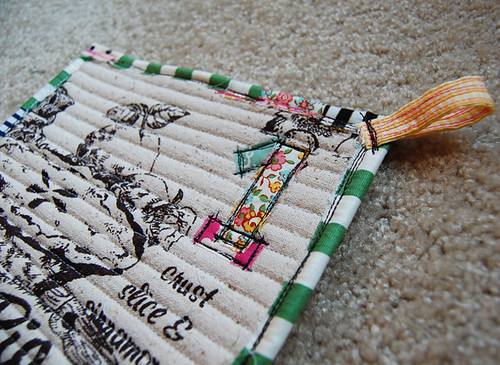
I added "1" on the right top corner to add a little fanciness,
so I named this potholder "No.1 Apple Pie." Hmmm..
I haven't had it for a while... yum yum...
potholder
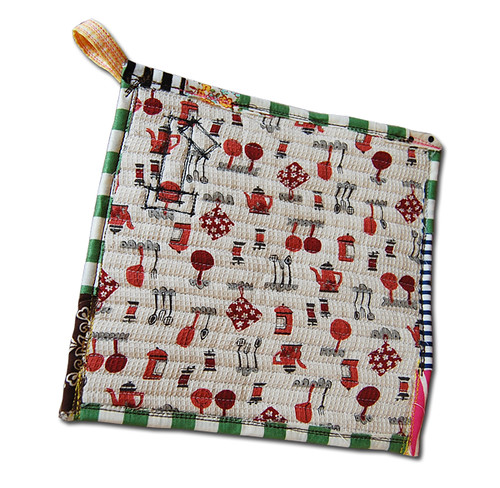
This is the back side. I'm glad I chose this waffle fabric.
It seems to be working fine with the crazy binding.


pot10

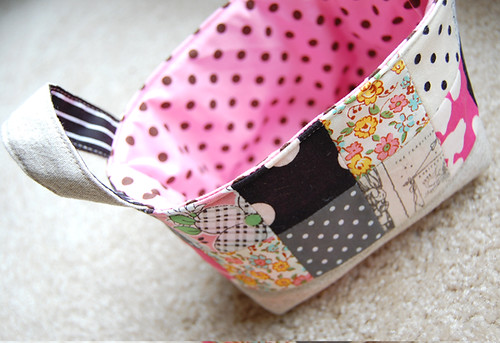
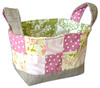
I also made three fabric baskets over the weekend.
This one is my fave. I picked fabrics that I love.

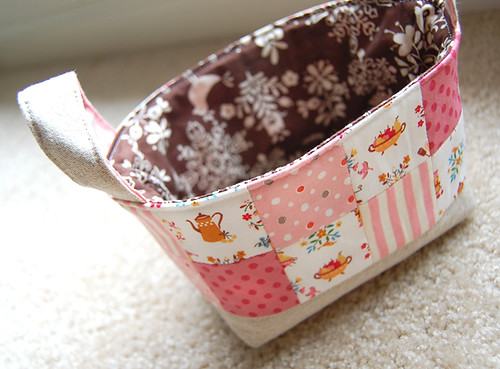
pot8

This one is so Japanese. I can imagine being invited to
a little tea party by someone in Japan and seeing this basket
on a coffee table filled with candies and tea bags.

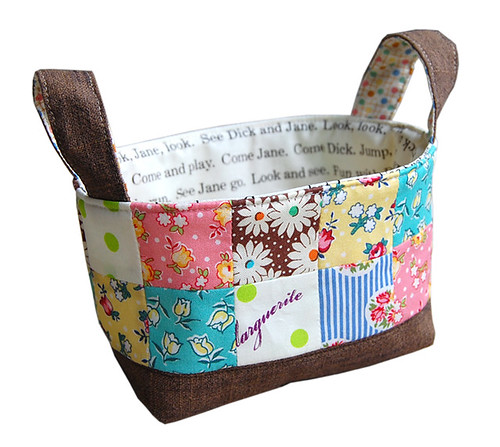
pot4

This is such a happy one. Looking at it makes me want to
sing a happy song or something.

All the fabric basket as well as the No.1 Apple Pie
Potholder have been listed in my shop;) When you make
a purchase, let me know you came from this blog so that
I'll add a little gift for you ;)


pot12

On a side note, I went to a farmer's market in Campbell, CA
yesterday and picked up Sun Golden Cherry Tomato seedling.

pot13

We've never been good at taking care of plants, but
I'm so excited for it to grow and to see cherry
tomatoes one day. If you have any suggestions as to
what we can do to help tomatoes grow better,
I'd really really appreciate it if you shared the
info with me ;)

Hope you all have a great week!

Thanks for stopping by and reading!


Thursday, June 4, 2009

iPhone Cozy

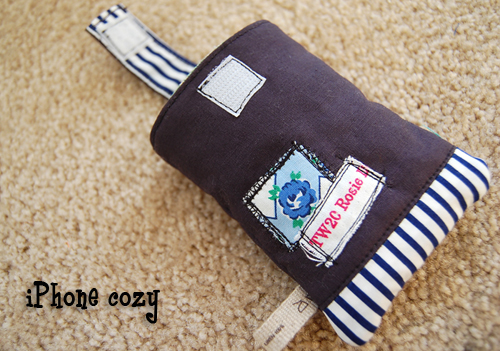
iphone cozy

I've been meaning to make a case for my iPhone ever
since I got it about a few months ago. I knew it would
be a quick project but for some reasons it took me
this long to finally get my fanny in gear to start on it.

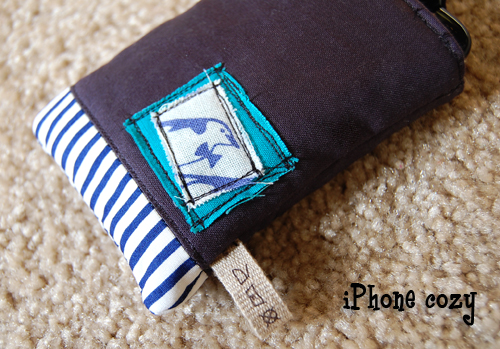
iphone cozy

Making use of scrappy fabric was nice.
I should probably use fray stopper glue around
the edges though before the little penguin escapes.
I really like lazy, slightly off stitches.
Looking at the stitches like this reminds me
that "it's totally ok not to be perfect."

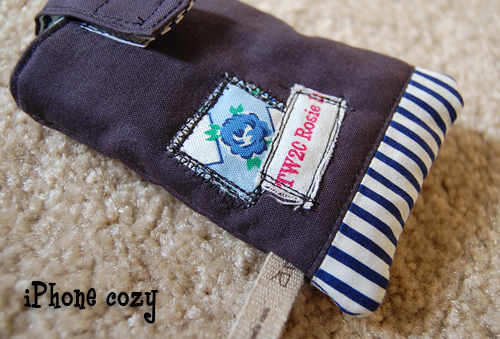
iphone cozy

I used pretty thin batting - I should've used thicker one to
make my iPhone cozier. This iPhone case turned out a little
too small to cover the entire iPhone - I should've planned better.

Well, but the fact is I simply adore how it turned out;)
That's all that matters to me since it's mine *smile*

Thanks for reading!


Wednesday, June 3, 2009

Frequently Asked Questions


ge
pinkIs it ok to link to your blog/tutorials?


I'd love it! Thanks!!
pinkCan I use your images on my site?
If you want to use the images of completed projects from my tutorials for the purpose of introducing my tutorials on your site, go for it! (And Thank you for doing so!) If you want to use other photos (including images used in the middle of steps of tutorials), please ask me for permission first.
pinkWhat kind of a sewing machine do you use?
I use Janome DC4030. It is a small sewing machine with just basic functions. I bought it from a sewing machine store in the US for approximately $500 USD in 2011. It works great and has every function I need to make my projects. It is a great choice if you'd like to make small projects.
pinkCan you translate this in Japanese?
I do know that the online translator has a limitation to its quality and sometimes it is not the most helpful thing. Or you may have a couple of words that you want to make sure that you have the right Japanese translations for. Feel free to shoot me an e-mail with those words. I'd be more than happy to help you with a few words or sentences ;)
questions-on-tutes
pinkCan I sell items made from your tutorials?
I have had very many people asking me if they could purchase the license to sell their projects based on my tutorials. You are more than welcome to sell as many projects as possible if they are for fund-raising/charity purposes, but if you'd like to sell your projects for your profit from your small business, (an example would be selling up to 20 fabric baskets a month in your etsy shop.), you can purchase the license from the button below.
License to sell - 1,000 JPY (approximately $12 USD)

pinkDo you sell your paper-piecing patterns?
As of April 2012, I don't have any paper-piecing patterns available for sale, but I have a few free paper-piecing tutorials available for you:
  • Juice glass block tutorial - instruction and pattern
  • Kitchen stove block tutorial - pattern only
  • Japan in Japanese block tutorial - pattern only
  • pinkCan I use your tutorials in my sewing classes/quilting retreat?
    Of course! As long as you can mention that the tutorials originate from this blog, I'd be happy ;)
    pinkCan I translate your tutorials in other languages and show the translation in my site?
    Sure! The best thing about the Internet is how we can all connect and communicate with each other all over the world. I want many people to enjoy my tutorials without language barriers! As long as you can link to my blog and state that this is where it's originated, I'd love it. (In this case, please use your own photos to show the process. Please do not copy my images except for an image of a finished project.
    pinkHow do I print out your tutorials?

    The only tutorial I have a PDF file for is the fabric basket tutorial. (You can find the link at the end of the tutorial post.) If you'd like to print out other tutorials, please use the "print friendly" button shown at the very end of each post.
    pinkHow do I enlarge the fabric basket pattern?
    I know lots of seamstresses have made enlarged versions of the fabric baskets, so I know it will work fine if you enlarge a little bit;) The original fabric basket is pretty small (approximately 5 1/4"(width) X 3 1/2"(height excluding handles) X 4"(depth)). If I were to make it 1.5 times bigger, I would enlarge every single piece by 150%. For the fabric basket that measures 7 7/8" (width), 5 1/2"(height), and 6"(depth), I would cut out pieces as follows:
    Each square patch: 3" x 3", linen (the bottom part) 9" x 15 1/4",
    box corner 2 5/8", handles 3" x 15 3/4", linear fabric 18" x 13 7/8"
    One day, I want to make fabric baskets in several different sizes;)
    question
    pinkWhere do you buy your fabrics?
    Since I live in Tokyo, most fabrics I use for my projects are my local finds here. Now Japanese fabrics are readily available at many fabric stores online across the border (yay!). If you search "Japanese fabric" on etsy, lots of fabric will show up there! A lot of fabrics I use are Japanese designers (such as Suzuko Koseki and Kumiko Fujita) fabrics. I sell some of my favorite fabrics in my shop every now and then ;)
    pinkHow can I buy fabric from Japanese-only online shops?
    This is a question I get very often from those folks who have something they want to purchase from Japanese online shops but have not been able to figure out whether the shop ships internationally or accept any credit card payment. From my experience, most shops are willing to ship internationally via Express mail(EMS), which can be very costly but is the fastest shipping. It usually takes only a few days for your package to arrive from Japan. As for payments, I have found that many small online shops do not have a credit card payment or a paypal payment system set up in their websites. This means that they accept only one type of a payment which is to made directly to their bank account in Japan. So in order to shop from those shops, you'd need to ask someone in Japan for help. If you are confused about anything, I recommend that you send them e-mails in Japanese. (They may not reply to an e-mail in English if they don't read English.) Here is a sample message you might be able to use for the purpose.
    Hello. I have something I want to purchase from your shop, but I live outside Japan. Can you accept a Visa credit card payment and ship internationally? If these are possible, what's my next step? I'd appreciate it if you could reply in very simple Japanese or English since I will use an online translator to translate your e-mail. Thank you.


    こんにちは。このショップから購入したい商品があるのですが、こちら海外在住です。VISAカードでの支払い、それから国際配送は可能でしょうか。もしこれらが可能な場合、どうしたら商品の注文ができるか教えて下さい。こちら、日本語は分からないので、簡単な日本語かもしくは英語でお返事をいただけたら幸いです。日本語のメールはオンライン翻訳サービスを使って翻訳する予定です。 宜しくお願いいたします。


    pinkI'm going to visit Japan. Where can I find fabric there?
    If you are a serious fabric addict like me and are ready to load up your suitcase with tons and tons of fabrics, go to Nippori Textile Town which is within a walking distance from the JR Nippori station in Tokyo. There are lots of fabric warehouses there, and the fabric is pretty inexpensive compared to other retail stores. Most stores in the textile town has a minimum one meter purchase policy though. Tomato probably has the biggest selection and is super crowded at any given time (Don't be surprised to see 30 people lined up to get their fabric cut!) Nippori Textile Town offers a wide variety of Kawaii (cute) quilting weight fabrics and other materials. If you are into designers fabrics, you'll want to stop by fabric chain stores instead.
    As for chain fabric stores, I really love Yuzawaya. There are several locations in Tokyo and some other prefectures. It is always located by a major train station, so it is very tourist-friendly ;) I recommend Yuzawaya in Kamata, which is the headquarter of the store and it is the largest of all. Okadaya is another big chain store in Shinjuku and Machida. If you are interested in Zakka-shopping, you might want to check out Tokyo Shopping Guide that Marceline of Asking for Trouble has created ;)
    Here is a sample day trip for fabric shopping in Kichijoji, Tokyo. Yuzawaya located in Marui by the JR Kichijoji station --> 5 min walk to Cotton Field (US fabrics & Brand fabrics) --> 14 min walk to A-Materials (US feedsacks and vintage fabrics) --> back to the station.


    Do you have other questions? E-mail me if you do;)

    Thanks for reading!