Monday, January 26, 2009

Fully recovered..Almost!

pincushion - very pink

Thanks a million for your wishes for me to get better!!
I'm surprised at how fast I am recovering..I'm almost
fully recovered at this point. I'm sure in a few days
I'll be 100% fine. That was quick! I was thinking about
taking a semester off or something, but clearly I don't need to.
Thank God for this great medical technology!!


pincushion - very pink

Happy pink colors!
I love this pink vintagish pincushion.
I used the fray stopper for the edges.


pincushion - gray&penguin

I adore this one too.
Gray and pale yellow is one of my favorite combination
of colors. The penguin fabric and the textile fabric
are the ones I designed and printed out.


pincushion - gray&penguin

I smile looking at the penguins.
Both pincushions are going to be in my shop very soon;)

Thanks again for your wishes.


Don't forget to check out Nanette's teapot!!


Thanks for coming & reading!

Sunday, January 25, 2009

On the mend


Hi all. Thanks so much for your constant encouragement
and support. I was sick for the last few days, and for
the first time in my entire life, I went to an emergency
room at a hospital yesterday morning. I was in such a pain
that I could hardly sleep nor speak, but I got two
shots and prescribed with some medications and...


pe1-2-1-11.gif

I am just feeling much much better now!
I appreciate all of you who've worried about me
especially Joe, who was so nice to take me to
an emergency room in the early morning and
constantly be there for me at the hospital.
I don't even want to think about what it might
have been like without him. I don't have a car.
I wouldn't have had a health insurance..
I wouldn't have anybody to depend on...
I really confirmed that I am the luckiest girl
on the universe to have met someone like Joe..
It is such a great thing to love someone and
be loved by the person. I don't want to sound
emotional in my blog, but I couldn't help it this time.

Anyways.. I am just on the mend. Yaaaaay.
It feels great to be healthy!!!!!


pin cushion

I listed some more pincushions in my shop.

pin cushion

I really like this one.


pin cushion

Another penguin pincushion.

pin cushion

I might have to look for this ribbon online.
I love it so much but I have only a few inches left.


PinCushions have been listed in my shop.


By the way, have you guys looked at Belinda's teapot?
It was my first teapot block I've ever discovered that is
based on my pattern! If you haven't go check it out!


Thanks for coming & reading!

Wednesday, January 21, 2009

Penguin times four

penguin pincushion - Daisy Chain

Thanks a million for many comments on my last post!
I've already found several blogs that have introduced
my teapot pattern tutorial. (Thanks!)I am really really thrilled
to find out what you will make using the pattern.
Potholders? Tea cozy? Lunch mat? Table runner?
Wall hanging? Quilt? ... I can't wait to see them ;)

penguin pincushion - Daisy Chain

Today's post will be all about penguins.
Be prepared.. You'll see hundreds of them. maybe.

penguin pincushion - Daisy Chain

I made three penguin pincushions yesterday.
I really love the combination of Amy Butler's
fabric and this penguin fabric. They are totally
different, but it somehow makes sense when they
get together... kinda like a magic!

penguin pincushion - polka dots

Just for this project, I printed the 'penguin' fabric.


penguin - polka dots

Penguin, Penguin..


penguin pincushion - umbrellas

I almost gasped when I found this umbrella
print fabric in my scrappy stash that I bought a long
long time ago! "Oh my goodness! I totally forgot about you!"

penguin pincushion - umbrellas

I knew it must become a pincushion right away.
Then the penguin block was waiting next to it.


I'm planning to make two more penguin pincushions
using the same penguin fabric...but you know what,
to tell the truth, I am getting a little bored of this.
This is extremely cute fabric, but I kinda want to
play with different penguin fabric....

I designed this fabric

So I designed this fabric. Woohoo!!
Joe's aunt Jeanette was so nice to share with
me some of her penguin pictures she took on the
Antarctic Peninsula. This penguin shape is based on
an Adelie penguin that was in one of the pictures.

I designed this fabric

I just love how super flexible penguins' bodies are.
They make me want to give a big hug, but I know in
reality they smell fishy.. who cares though.


oh how sad.. my Spring semester is starting tomorrow.
I have a feeling that it's gonna be a quite busy
semester again. Sorry if I become quiet again, but
I'll come back as often as possible!! ;)


Thanks for coming & reading!


Tuesday, January 20, 2009

Downloadable Teapot Pattern


step0

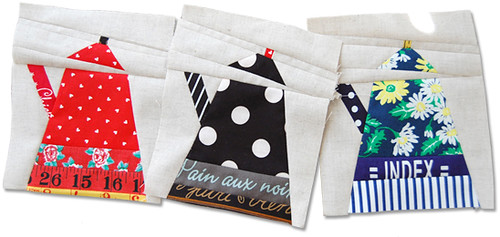
Yaaaaaay! I made a pdf for this teapot pattern!
You can download it from here.

If you're an experienced quilter, you can probably
figure out how to make this patchwork block almost
instantaneously, but if you are sort of a beginner
seamstress like me, you might find it helpful if
I show you how I make this teapot patchwork
block from the first step to the end, so here comes
the instruction of how I do it along with a bunch of photos.


step1

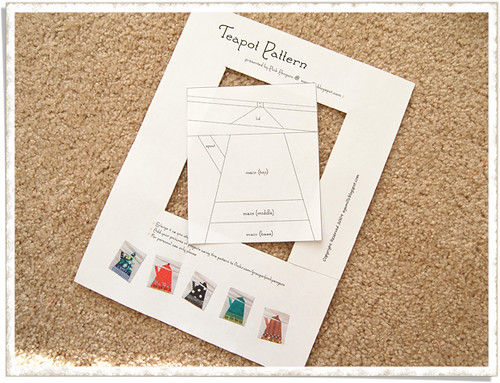
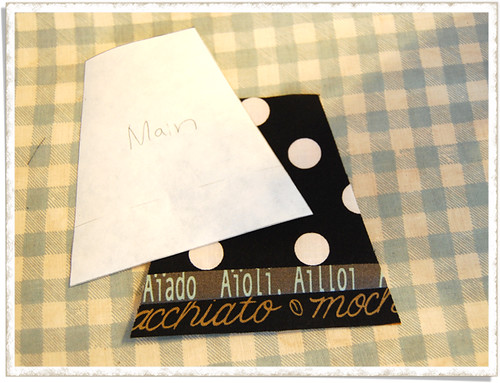
Cut out the pattern from the pdf printout.
(I recommend you enlarge the pattern, because it's too
small as it is, but here I am using the pattern of the original size.)

step2

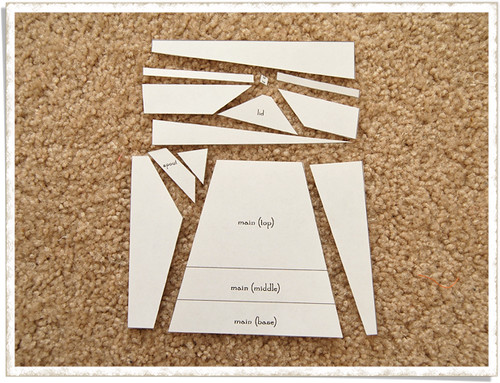
Cut it into pieces along the lines.

step3

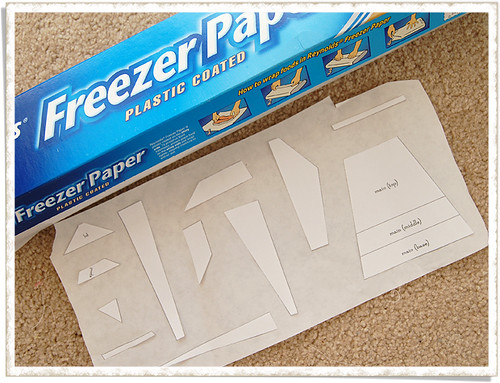
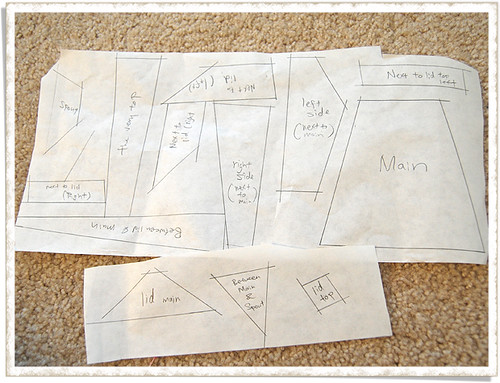
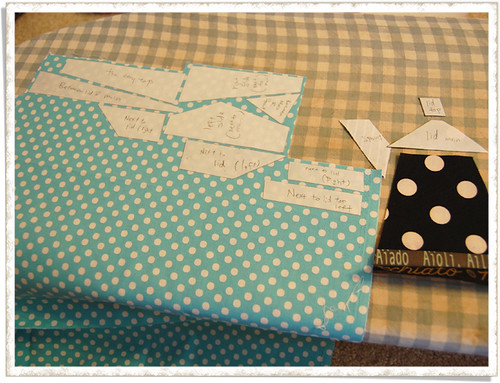
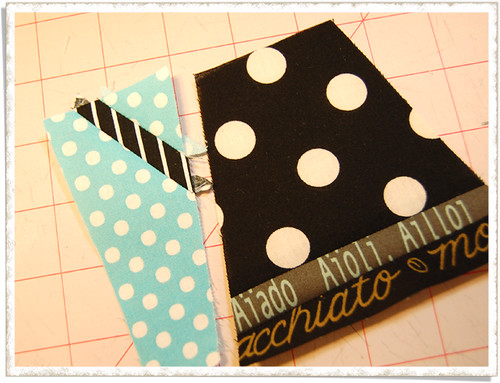
Using a small piece of double-sided tape, attach
each piece onto the right side (not shiny side) of
freezer paper, making sure there is plenty of
space between the pieces. (The layout shown in this
picture isn't a great example. I figured later that I
needed more space between each of them.)

step4

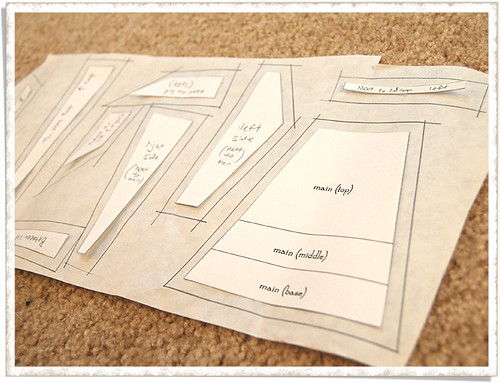
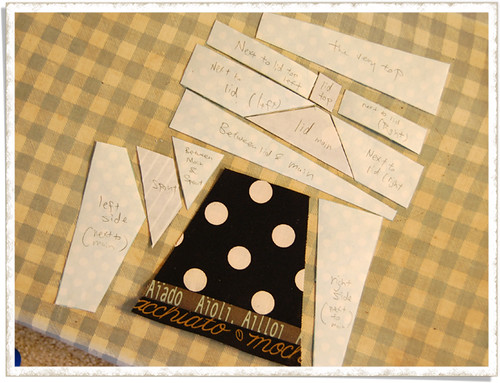
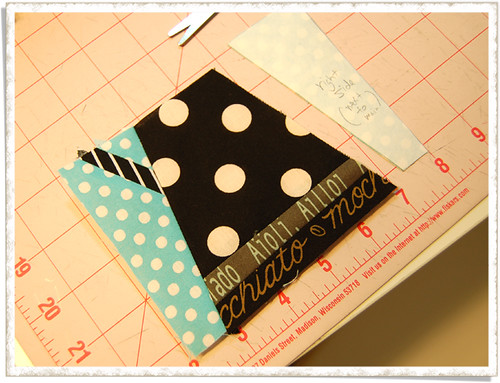
Using a ruler, add seam allowances of 1/4".
(Throughout the process, the seam allowance is 1/4".)
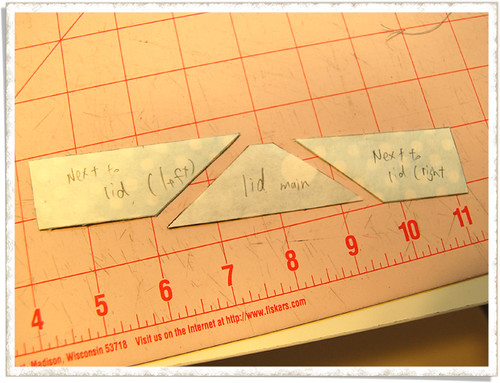
Also, make sure to name all the pieces so that
you'll know which one goes where in what way.

step5

Take off the original pieces of the pattern and
Name the new freezer paper pieces. You can
discard the original paper pieces now.


step6

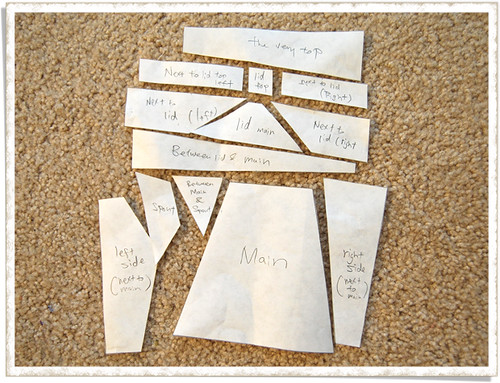
Cut out the pieces of the freezer paper.
There should be 13 pieces total.


step7

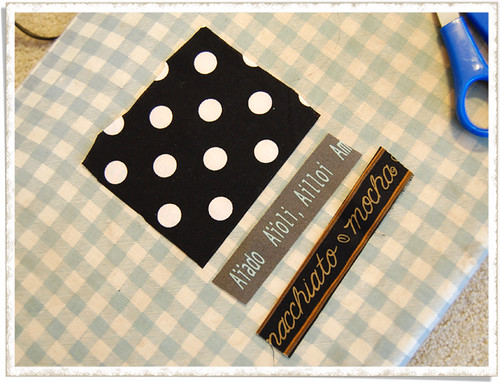
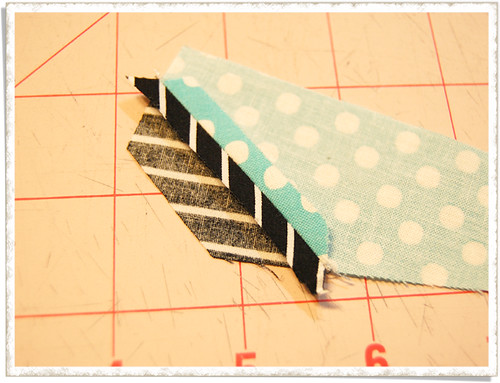
Let's make the funnest part - the main teapot body.
I really don't care the height of those two pieces
for the teapot base. Here I cut out them that
measure about 1" x 5".


step8

Sew them together and press seam open.
(Pressing after every time you sew each line
will really help you work on this project easier).


step9

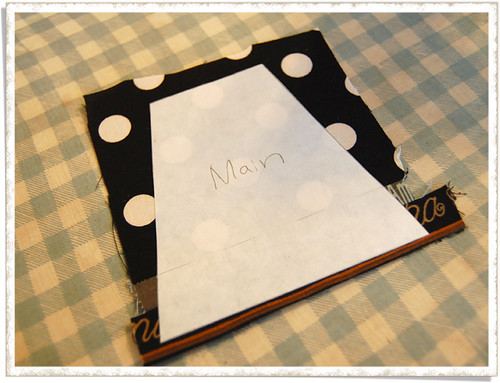
Place the freezer paper pattern on the RIGHT
side of the fabric and press on it to attach the
pattern to the fabric temporarily. (Remember to
always do this on the RIGHT side of the fabric!!)


step10

Cut out the teapot body along the pattern edges.
and peel off the pattern! (This freezer paper
pattern is reusable for many many times!)


step11

Using the same technique, cut out other pieces too.


step12

Yay! 13 pieces done! I know it's tempting to peel the
patterns off at this moment, but I strongly recommend you don't.
It will be helpful if you peel it off right before sewing
the piece so that you'll know which piece goes where.


step13

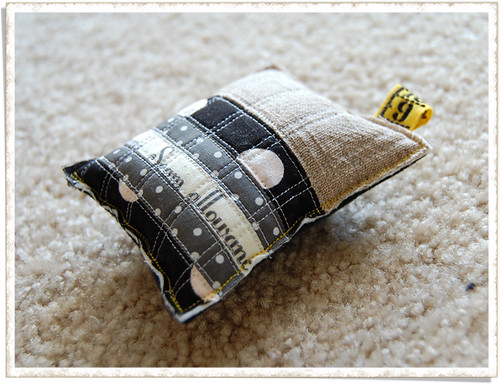
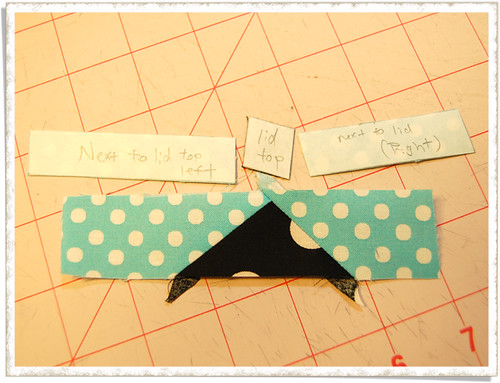
I always start off with the left side of the background
next to the teapot, because I can't wait to attach a spout
on it. Oh, I also make sure that the fabric for the background
is very different from the teapot color to make the teapot
stand out. I also choose background fabric that is either
solids like linen with no print on it or small polka dots.
Otherwise, the background would get too busy.

step14

Sew, Press seam open, and sew the next one....


step15

When the three pieces are together, it's time
to sew it to the main teapot!


step16

Yaaaay! Now let's attach the right side of the background too!


step17

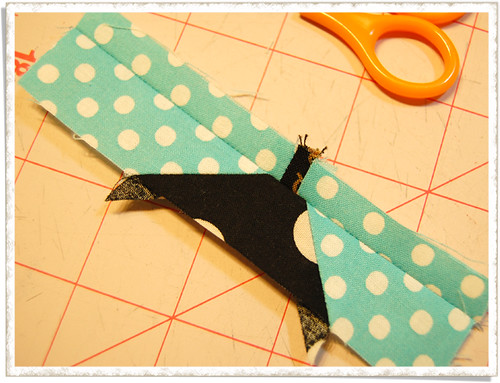
Then I usually sew these three pieces next.


step18

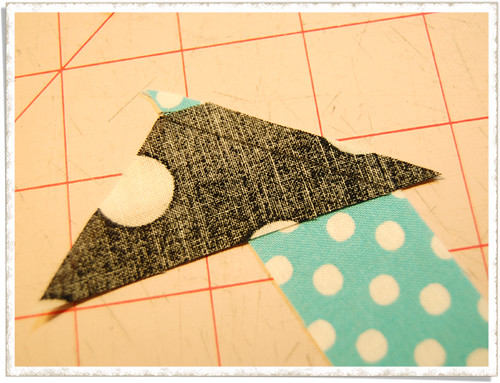
It took me a while to learn how to put
fabric together when the pieces are triangle.
Simple. Just make sure the end of the line
you draw merges with the edge of the fabric underneath it.

step19

After the main part of the lid is complete,
I sew together the three pieces on the main lid.
If you enlarged the pattern in the first place,
you'd work on this part of process peacefully,
but if you didn't, then you'd have a little
tough time just like I did. The top lid is obnoxiously tiny!!


step20

Oops, the top lid became a little narrower than it's
supposed to.. but I don't care about it that much.


step21

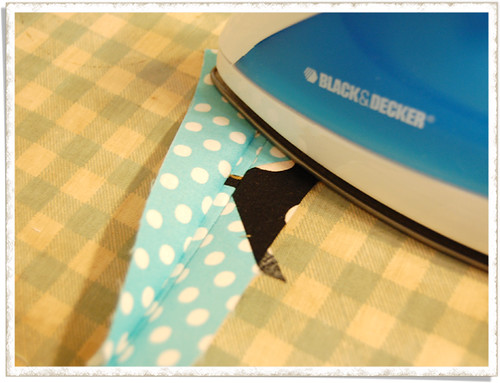
It's always hard to press seam open here,
so for this part, I iron it to just one side.


step22

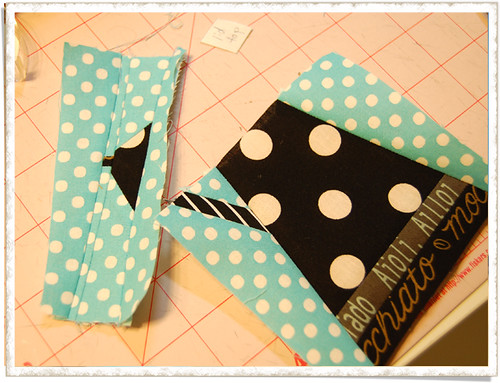
I forgot to mention about this very last piece that
comes between the main teapot and its lid. It's gets
really long when you add seam allowance to the original
pattern, so make sure to cut off some part of the
narrow angle. With the original pattern, this piece needs
to be just a little over 5" width.

step23

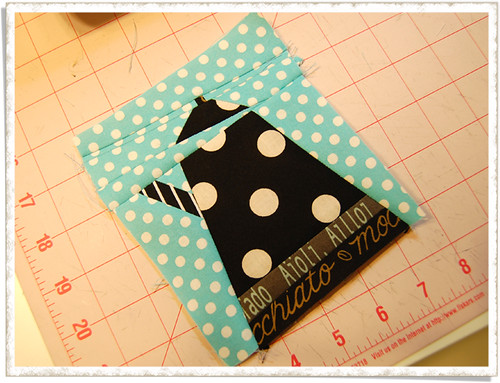
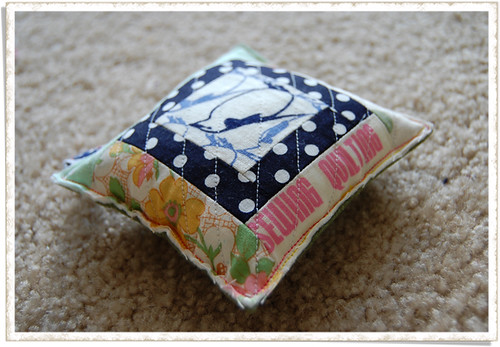
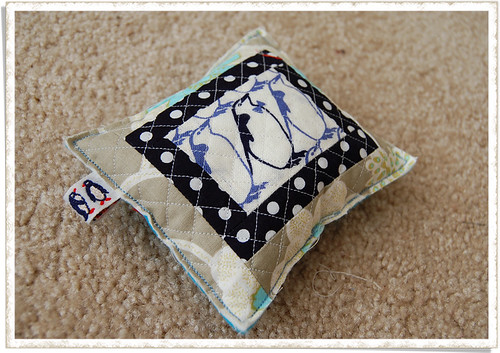
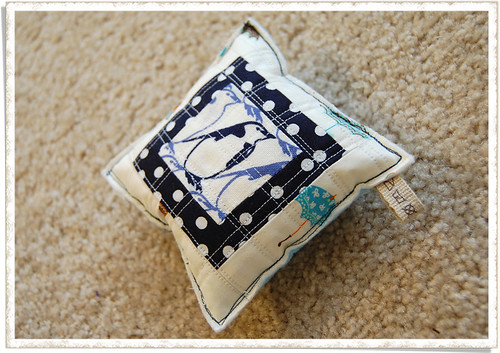
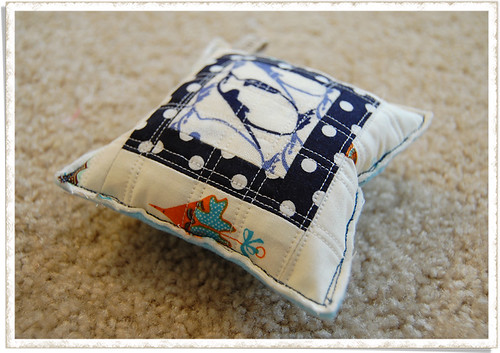
Attach the two now and your teapot is complete! Hooray!


step24

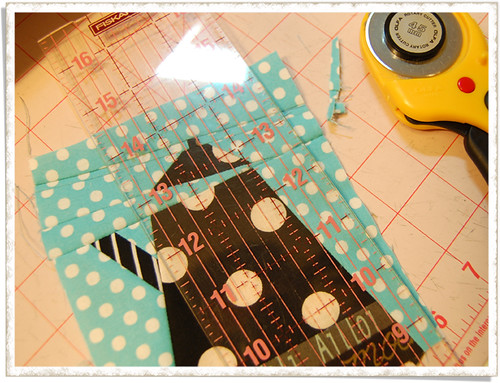
If you don't like the uneven edges, just cut off ;)


It's fun and quite addictive to make the teapots!

I hope you'll come up with many different sewing
projects using this pattern and share with us in
this flickr group. I'm already dying to see what
you create, so hurry up and make some please!!! ;)


→ Teapot Pattern Download

If this link doesn't work, try this one.

- When you link to this tutorial, please link to
this blog, but not directly to the pdf. Thanks;)


Thanks for coming & reading!