sided pace mat tutorial yesterday and here I am hosting a second stop
with a tutorial on how to make these
easy-peasy organizer baskets!
Not ready to think about Christmas yet?
Me neither, but we know it will come before we know it!
Jennifer picked this perfect timing to get this rolling
so that we have plenty of time to whip up gifts!
It's been over a year since I last posted a tutorial,
so I was a bit nervous writing this up, although it is
probably the easiest project among all sewing tutes
I have ever written, hehe. Hopefully I took enough pictures
so that the visual will help you through! If you have any
questions about this tute, you know you can contact me anytime!
Ok, here you go!
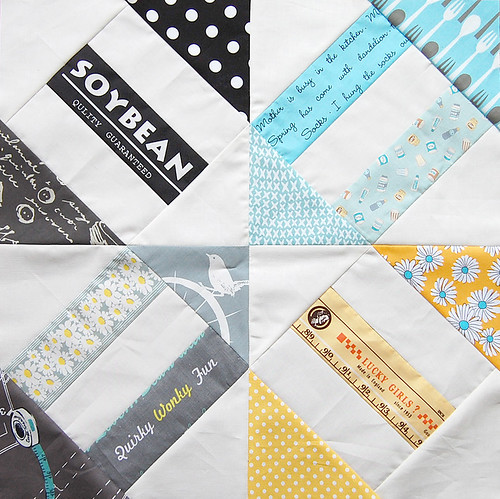
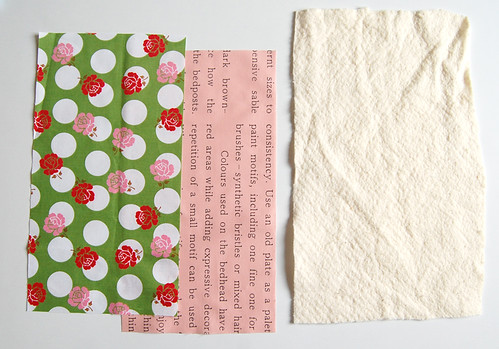
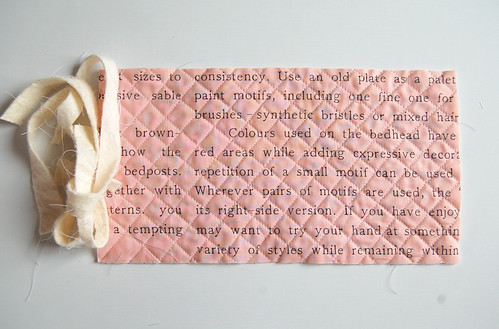
To make one basket, you'll need two 13" x 7" cotton rectangles
(one for exterior, one for interior) and one piece of
cotton batting that is just a little larger than 13" x 7".

Spray the wrong side of the interior piece and add the batting.

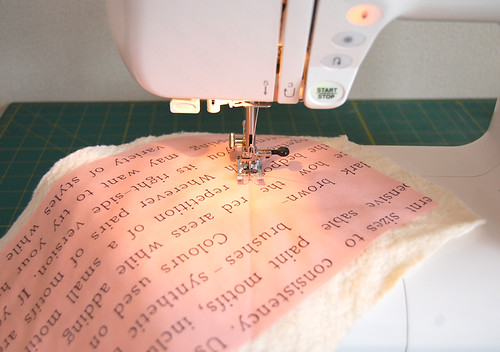
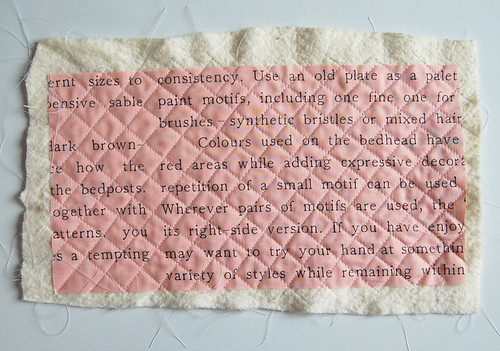
Quilt as desired. I like mine diagonal cross hatch quilted.
I marked a line from one corner to the point where it's 6" from the other corner.
Quilt along the line. (My stitch length was set at 3.0)
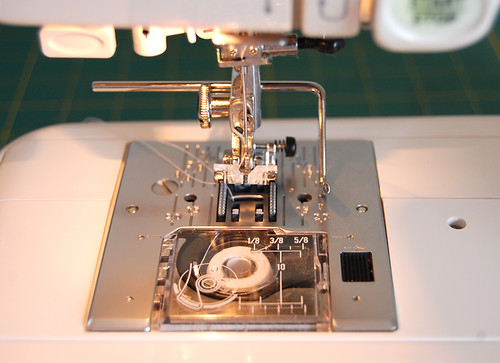
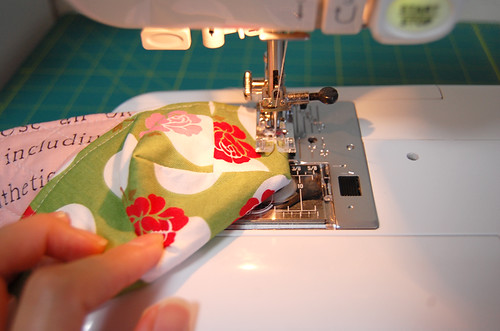
This quilter accessory is such a big help!
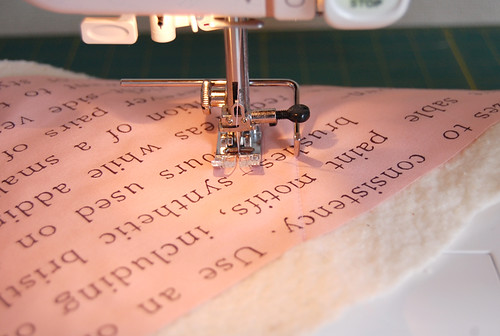
I sew while guiding the quilter over the previous row of stitching.
(My quilting lines are approximately 3/4" apart from each other.)
Like that. If your sewing machine didn't come with
this accessory, you can mark parallel lines throughout the interior piece.

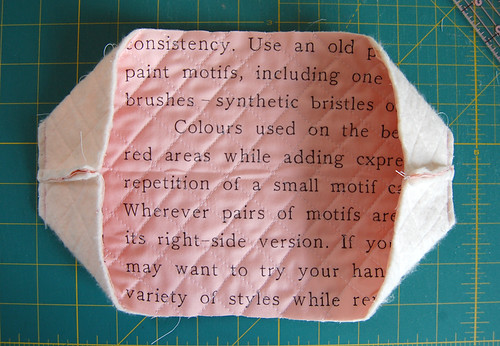
Here is how this looks after diagonal quilting is done.

Now mark a line perpendicular to the stitching and quilt in the same manner.
Yay quilting is done!
Chop off the excess.
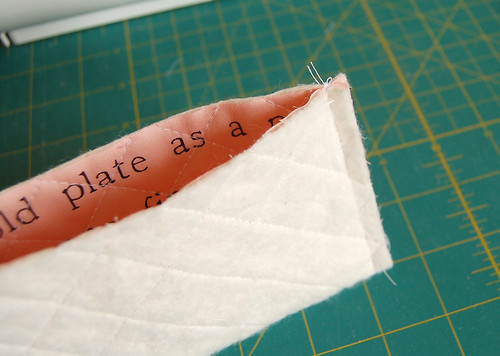
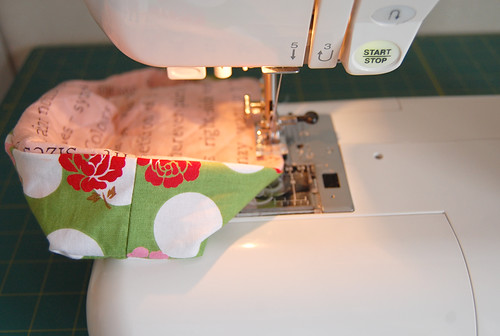
Now fold in half the piece with right sides together lengthwise
and sew both short edges. (1/4" seam allowance)
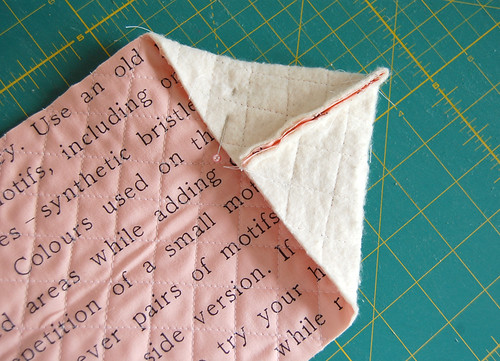
Time to box corners!
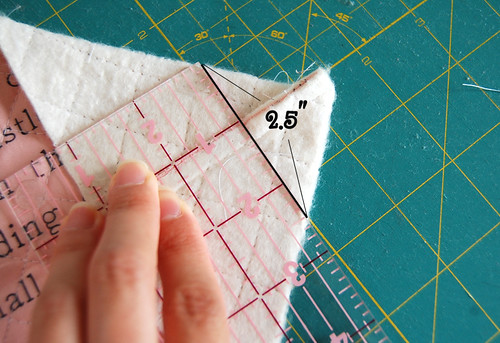
Mark where the seam line is at 1 1/4" from both sides.
(2.5" long from one edge to the other.) Sew along the marked line.

Cut off the corner. Leave a small seam allowance.
Repeat the same process for the other short edge so that
your quilted interior looks like this.
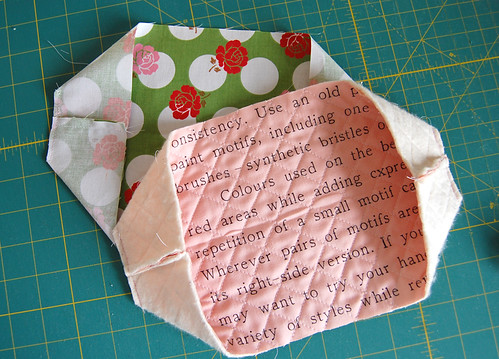
Do the same with the exterior piece.
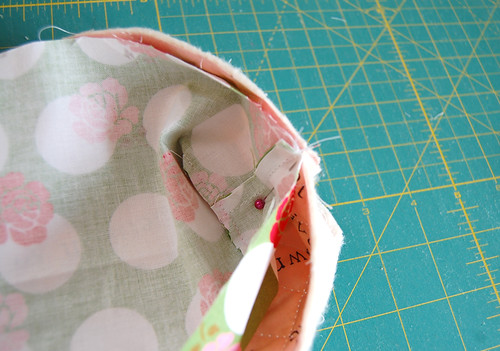
With right sides together, place the exterior inside the
interior. Match seams and pin in place.
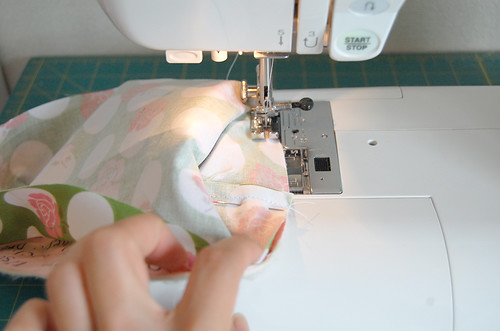
I like to start sewing just about 3" away from the seam.
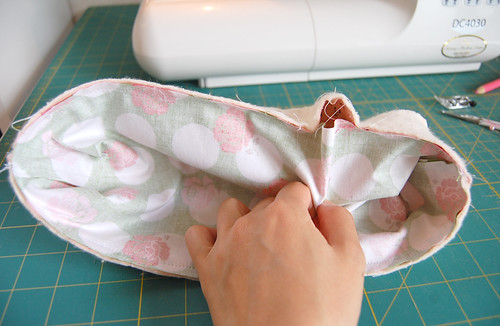
Leave about 1 1/2" wide opening. Turn the right side out from the opening.
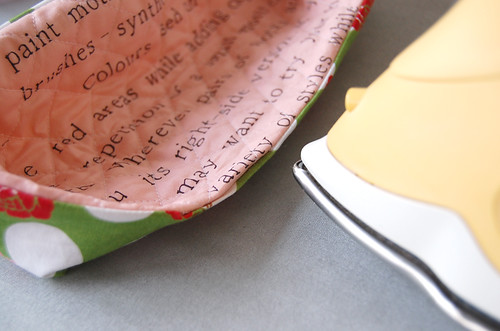
Press the opening.
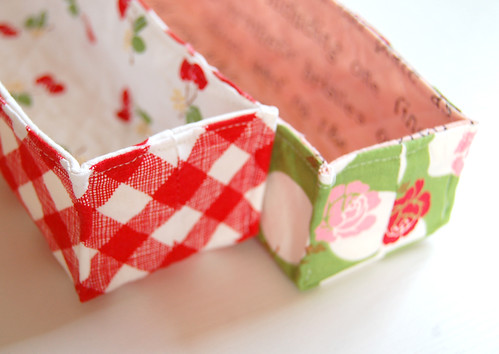
Top-stitching!
Now you've finished making this organizer basket!
(Finished size: 2"H x 9 1/2"W x 2 1/2"D)
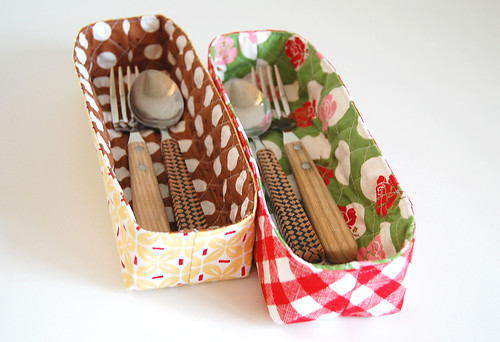
These nicely soft baskets serve well as drawer organizers/utensil trays,
but if you want to stabilize the baskets a little,
you can alternate the pattern by using interfacing on
the back of the exterior and/or using stiffer batting and/or...
Top-stitching four corners.
Your basket will be more squarish like this.
(these were made in the same way except for top-
stitched corners.)
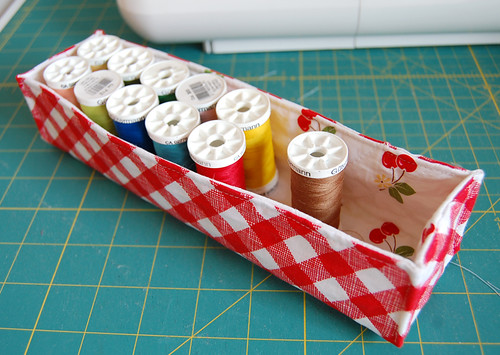
This basket is a perfect size to put together 16 spools of Gutermann 250m
threads for a gift. (Oh I just had a vision of this basket filled with spools
and one big handle in the middle! That would make a cute gift, wouldn't it?)
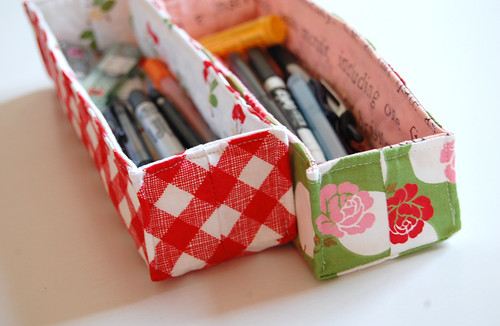
Or maybe pen holders? Whatever you or the recipients
of your baskets can think of :) Lots of possibilities!
I would love to see your baskets in
this flickr pool and
here for anything you made using tutorials in this blog hop!
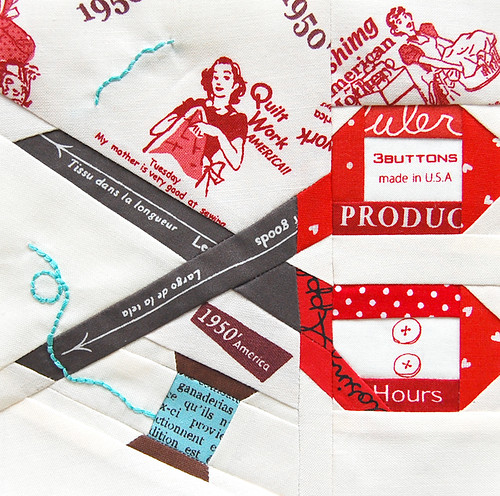
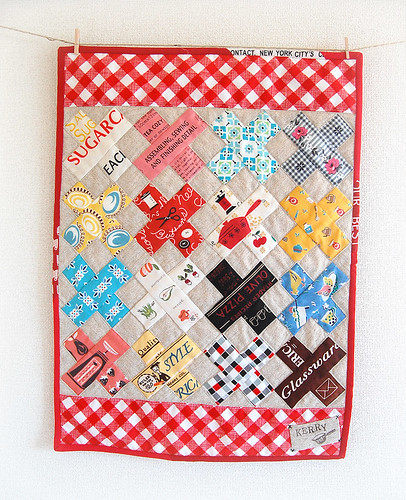
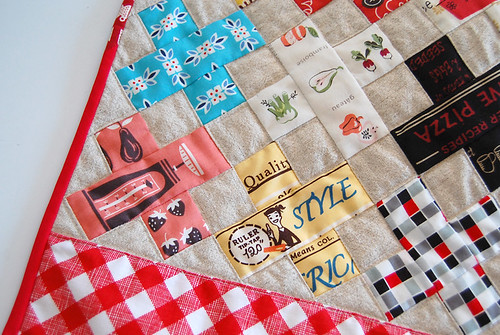
Fabric used: Sew Cherry and Kei
I hope you'll find some great inspiration for Christmas
gift makings by hopping over these amazing blogs.
I am so looking forward to seeing what they'll come up with
because I haven't decided what I will be making for Christmas yet!
Saturday, October 15- Ayumi/Pink Penguin
Sunday, October 16- Amy/ Lots of Pink Here
Monday, October 17- Faith/Fresh Lemons Quilts
Tuesday, October 18- Penny/Sew Take a Hike
Wednesday, October 19- Kati/From the Blue Chair
Thursday, October 20- Lee/Freshly Pieced
Friday, October 21- Elizabeth/Don't Call Me Betsy
Saturday, October 22- Melanie/Texas Freckles
Sunday, October 23- Lindsay/Craft Buds
Monday, October 24- Amanda/A Crafty Fox
Tuesday, October 25-Vanessa/Little Big Girl Studio Oh and to make this blog hop more exciting, there are
a giveaway at each blog stop AND a grand prize you could win
- $250 gift certificate to fabricworm! (Yes you heard it right :))
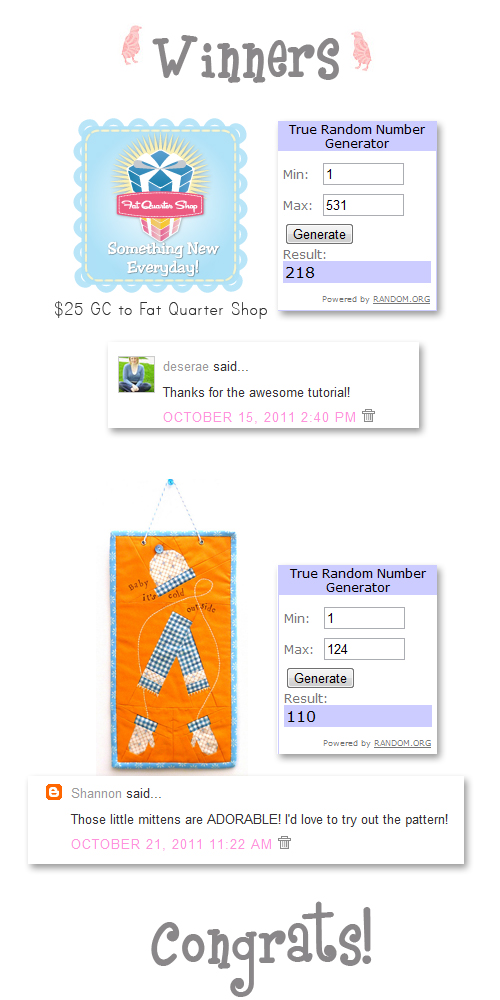
one comment on this post by the midnight on October 26th.
I'll have the random number generator
pick a winner for me on October 26th.
And just for stopping by, you can take advantage of a generous
15% off discount at
Fabricworm with the coupon code
fw12days through the end of the blog hop.
Thank you for your time to stop by!