Saturday, April 21, 2012

Logcabin Pincushion

Pincushions

My addiction to making log cabin pincushions is back, and it's a bad
one again! I've shown so many, maybe too many pincushions on 
this blog in the past, but when I get bitten by this pincushion bee, my self-control
is totally gone and the only thing I can think of is to make and make
and make more pincushions. And the fact I took a part of the zakka style
sew along and made a pincushion for it didn't help ;)

If you are already sick of seeing my log cabin pincushions,
feel free to turn around and say adios now!
If you have a bit of time to spare and don't mind seeing
some of the pincushions I made, thank you and here we go!


I love this one partly because this is the first pincushion
I've ever made that I used my carved stamp for! 
The "Sewing!" stamped on the linen piece is one of
the stamps I carved this week. Remember I told you I've been
addicted to that too? I also like this one because I think the
girl looks like she is looking at cherry blossoms petals falling. 
I love the pink snow flakes and miss them terribly already!


I made this one today. Very pink and strawberry!
The stamp came out a bit better than how it looks 
in the picture. I got to use some fabrics I have always 
wanted to use for pincushion-making, so I'm happy!
So far this is the only one left waiting for a new home in my shop ;)


This is another one I made today. It's for a sweet friend who
I've wanted to make something for for a long time. 
I carved the chipmunk stamp too.
I'd say it's not too shabby, no?
He is asking for a swap with his little flower 
for an applebut the thing is ....


There are a bunch of them just behind him!
So he would just needs to get up and go around 
the back to  discover them.

Pincushions

The Heather Ross Gnome fabric is always a perfect
one to start a log cabin! 

Pincushions

Whenever I receive email to notify me I sold
my pincushion, I have such a mixed feeling. Happy and sad.
Happy because there was someone in the world
who wants to welcome my pincushion to her crafty space.
Sad because it means I have to part with it.
This one was particularly a hard one to part with!

Pincushions

This one was so much fun to make, I remember!
I've always thought pink is the dominant color in my 
fabric stash, but lately I realized I probably have
more aqua fabrics than pink fabrics. The bigger the stash
to pick fabric from is, the funner it is to make pincushions.

Pincushions

I covet this poodle fabric and have always wanted
to make a pincushion using it. 

 Pincushions

There may be a little too much going on, but
I think it turned out sorta fun!

Pincushions

I picked up the bike stamp before I started carving stamps.
Now I feel like I may be able to make a stamp like that
with a little bit more of practice!

Pincushions

This one makes me think of vintage style a lot ;)
It found such a nice new home!

Pincushions

I love this one too. I'll have to make more pincushions
with a sewing machine in the middle more often!

Pincushions

I had a lot of fun making it too. The linen looking fabric at the right bottom
is not linen. It is printed cotton that looks like linen and a button. So fun!

I'll probably keep making more pincushions for my shop
for a while, hehe. 

Thank you for letting me share these pincushions!
Hope you have a great rest of the weekend ;)


Oops I almost forgot! The winners of the package of Aurifil threads are:
Sarah, Joyce Carter, Karen P, Beezus, Dakota sews!
Congratulations girls ;) I'll contact you all shortly!


Monday, April 16, 2012

Zakka Style Sew-Along Week 3 - Zakka Pincushion

Zakka Style Sew Along

Welcome to week 3 of the Zakka Style sew-along! Thank you again Lindsey
and Amy for hosting this sew-along and letting me participate in the fun!
It's been so fun to see everyone's projects from the book 
popping up in the blogsphere lately! Today, I'd like to share with you
 my pincushion I made from the book as well as (hopefully) helpful tips ;)

z4

Probably this is the easiest project in the book, and I certainly love
everything about it! It's very simple but gives you a lot 
of room to be creative and make yours very unique! 

I closely followed the instruction except for the button on front.
Instead of using a fabric covered button for it, I used a cute
lamb button I found in my stash, just because I thought the lamb may 
feel better to be on there rather than sitting in the zip lock for another few years. lol!

z3

I happened to have a sewing-themed stamp of the perfect size,
so I used it, but I must admit I had a bit difficulty stamping on the cotton tape.

z6

My initial plan was to use this stamp that I made by carving an eraser.
(I've been totally hooked at this lately! I am making at least one stamp a day now
and have 10 books about curving stamps from the library!)
Anyway, one sad finding for me was that the stamp on the
cotton tape did not come out nearly as nice as it would on smooth 
quilting weight cotton, however many times I tried. It is probably 
the matter of a fact that it is difficult to get a good impression on
cotton tape because of its somewhat bumpy surface.
(Or maybe I just suck at it!)

Here are some tips for you

1. If you have temporary fabric adhesive on hands, you might want to use
it for the cotton tape and the lace placement instead of pinning them.


I use this glue anytime it's hard to use pins (like sewing rick rack tapes etc.)
It's much quicker and easier and, gives you better control!

2. When you leave an opening at a long edge to turn your pincushion
right side out through, it might be better to avoid including the area
the lace is sewn. Does that make sense?


This is especially if you are using something like a rick rack tape
that is hard to hand-sew. It is much easier to hand-sew to
close the opening if the lace part is already machine-sewn.

3. When you put ink on your stamp, it might be nice to use a Q-tip to
clean the edges of the stamp to prevent from unwanted ink on the tape.

4. Small print fabric might work best for the cotton part of the front.
I thought about using a big print for it and realized it would be too busy
with the stamped cotton tape and all. Small print helps other features 
(cotton tape, lace and button) pop up, I think! 


Here is the schedule of this sew-along again!


As you may have guessed, I have a giveaway for you!


To win one package of 5 Aurifil threads, leave one comment for this post
by the midnight April 20th. I will select 5 random winners and announce them
on the day after. 

P.S. Make sure to link up your finished pincushion over Lindsey's by April 22nd for 
a chance to win the fat quarter bundle of Monsterz by Cloud 9 fabrics!


Good luck ;)


Saturday, April 14, 2012

Sew-Ichigo ;)

sew-ichigo

If you've been around on my blog (thank you for that ;) ), you may already know I am a huge fan of Penny and Kerry, because I talk about them a lot. Well it's because these ladies just simply rock! They have become such great, sweet friends of mine in the past few years, and I have always been inspired by their impeccable works!

Their new adventure, sew-ichigo kicked off recently, and they just made their first set of paper-piecing patterns, 
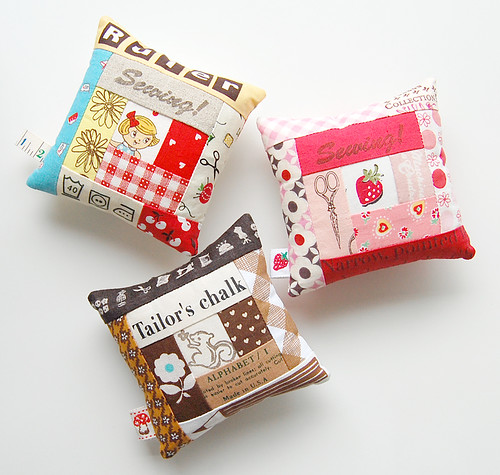
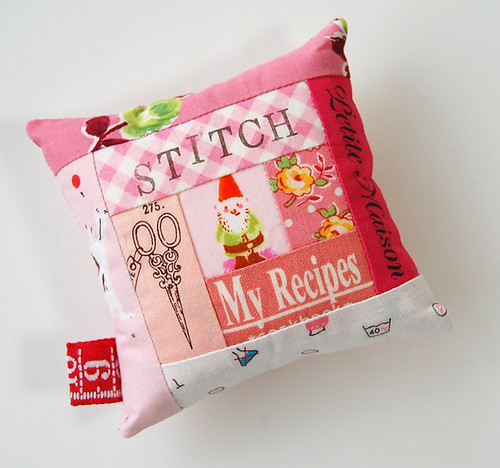
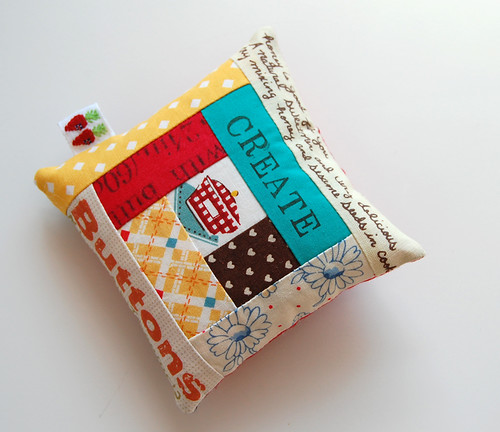
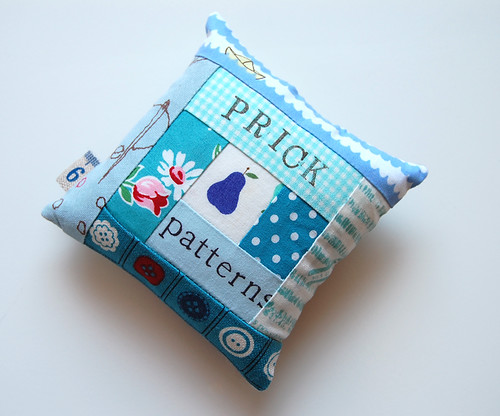
"Kitchen Classics" available for sale! You've got to take a look at them! They are just soooooo adorable! Ever since they told me about these patterns, I had been secretly hoping they'd ask me to test their patterns because I knew they would be wonderful just like everything they create, and I have a weak spot for any kitchen related stuff!


kitchen


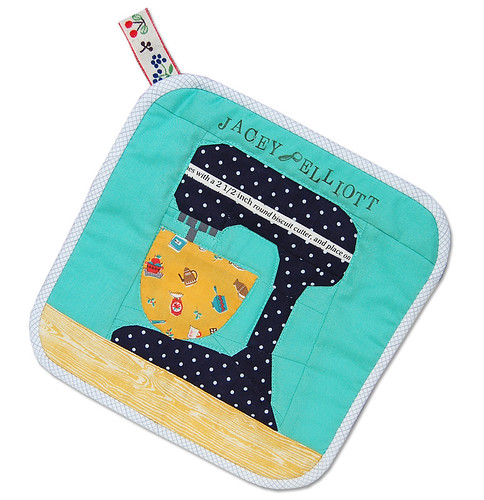
You can imagine how excited I was to test this KitchenAid pattern Penny came up with! When I first saw her KitchenAid block for Ringo Pie bee, my jaw dropped to the floor! I don't know what it is about KitchenAids, but they are just so lovely! Penny did such an amazing job creating the difficult shape into a doable quilt block pattern!

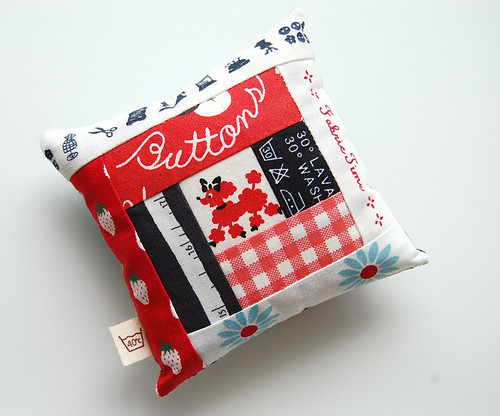
This potholder was made for Jacey of Jaceycraft who is going to get married soon ;) I had always been wanting to send her something. She likes cooking, and I have spied a KitchenAid in her blogpost. I couldn't tell if her KitchenAid was in cobalt blue or black or possibly any other color, but I guessed it was in cobalt blue, so I made the KitchenAid with a fabric in a similar color (navy blue). I love the way she combines blue and orange in her beautiful projects, so I picked orange-ish fabric for the bowl. It made her way yesterday and I was just so happy to hear she likes it, hehe!

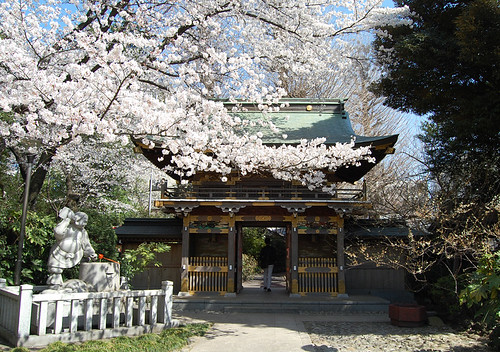
Let me leave you with some cherry blossoms pictures I took about a few weeks ago. Japanese cherry blossom blooms for only a week each year. Seeing them around really made me feel I am back home.


s3

s5

s2

s4

s1

Have a beautiful weekend!