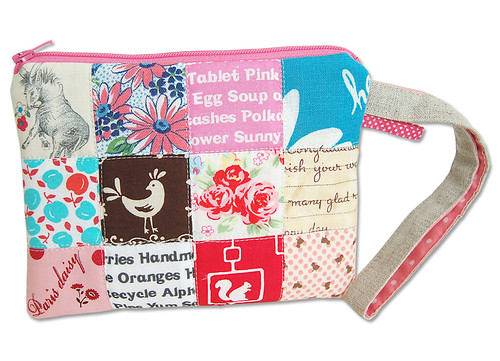
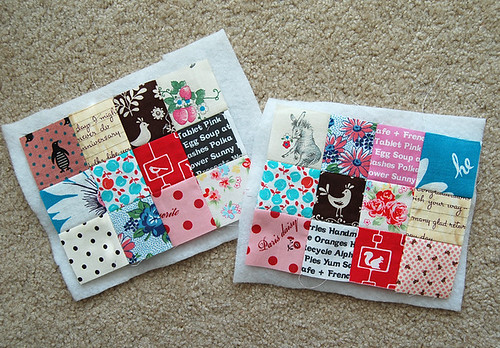
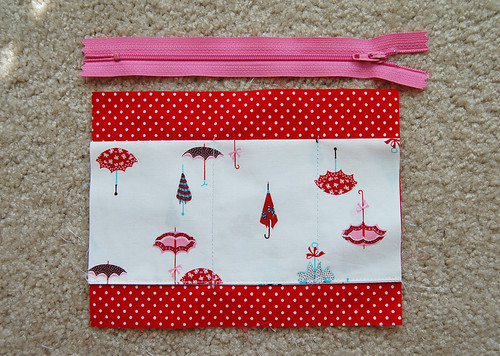
Thank you to many of you who requested
a tutorial on this pouch. This wristlet,
measuring approximately 6 3/4" x 5",
has some fun features including three inside
pockets for cards and a chap stick and a little
loop outside the pouch that holds a key chain.
I have been making tons of these pouches just
because this project is simple, easy, quick, fun,
and quite addictive, so I hope you enjoy this tutorial.
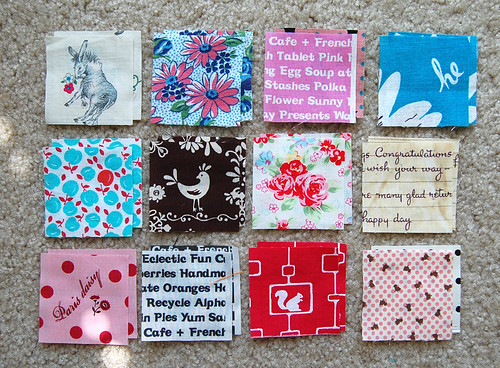
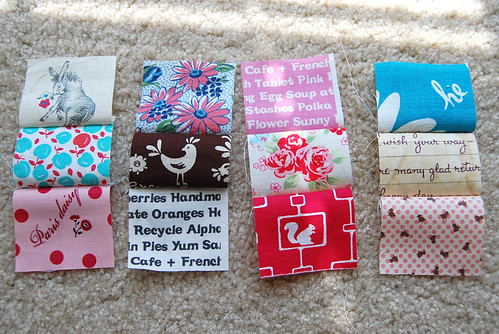
We start off with twenty four 2 1/4" squares.
(Once again, seam allowance of 1/4" is
included unless otherwise noted.)
Twelve of them will be one side, and
the other twelve go to the back side.
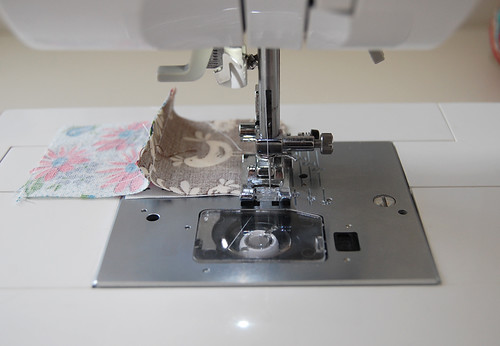
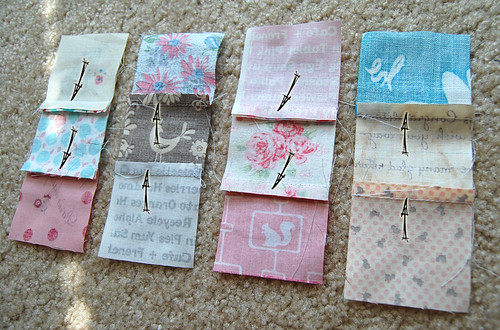
We now take the twelve squares that come to
one side of the pouch. Then we'll make
patchwork strips of columns.
Fun ;)
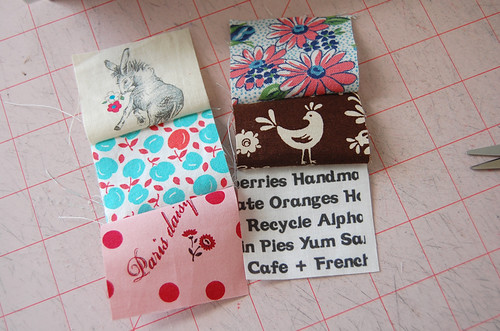
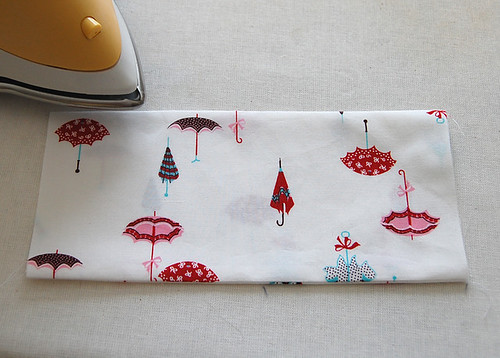
After you have four strips, it's time to press.
Pressing seam allowances like this will make
your finished patchwork piece less bulky and
it helps to ensure that each corner of a square
piece matches with corners of other squares around it.
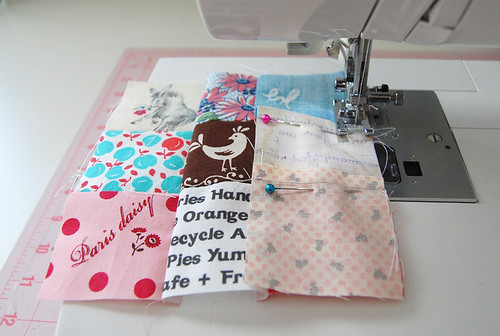
We'll sew them together.

Then press seams open! Yay just like you
did for the fabric basket and the patchwork
drawstring bag! I sure love square patches :D
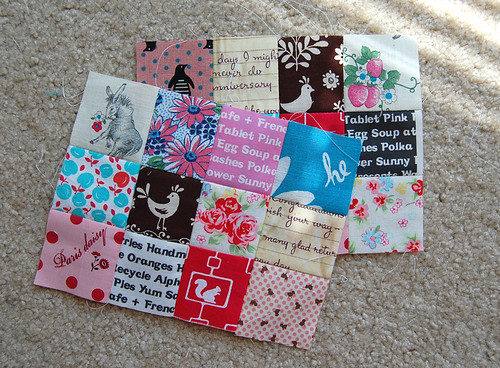
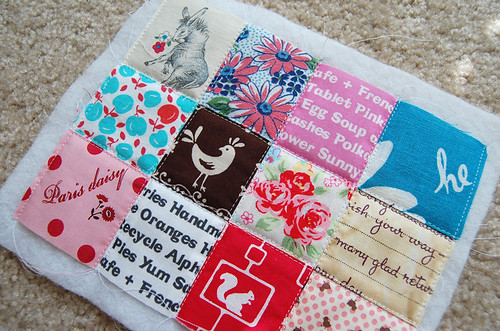
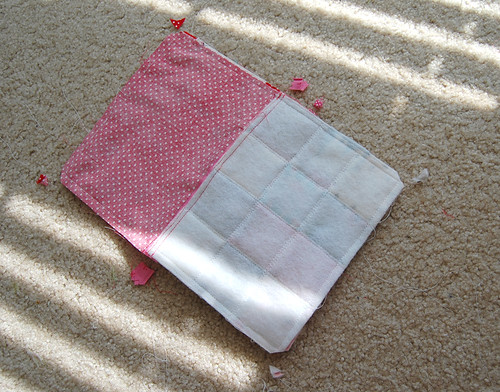
After repeating the same process with the rest of
twelve squares, we have two patchwork panels.
Then we'll fuse each of them onto a piece
of medium to heavy weight batting. I like
to use quilting spray for this process
rather than using fusible batting.
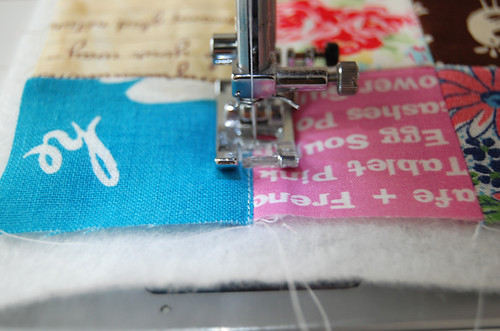
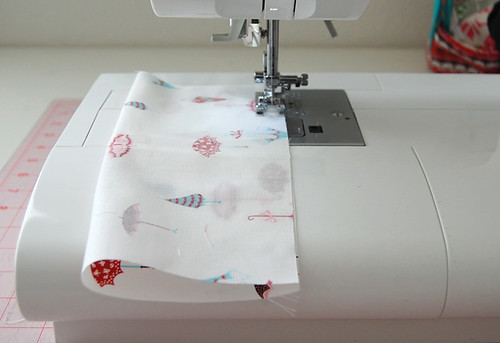
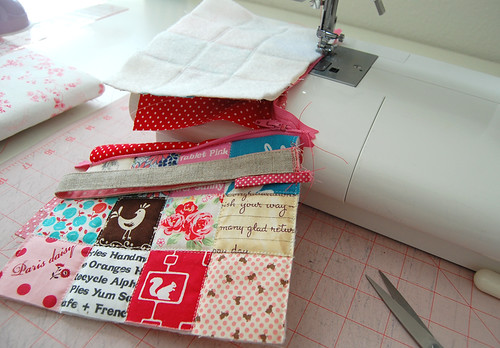
The quilting style here is totally up to you.
Zig-Zag stitching is fun and quick, but
what I've been doing is this; quilting
very close to both sides of each seam,
and the short edges..
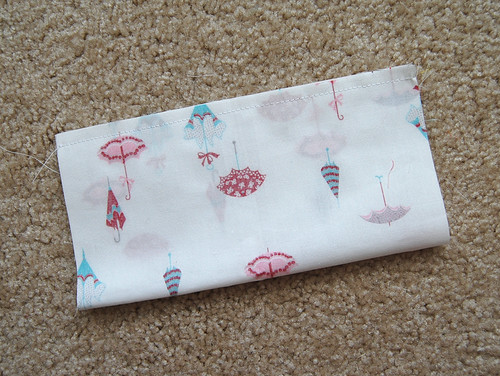
like that.
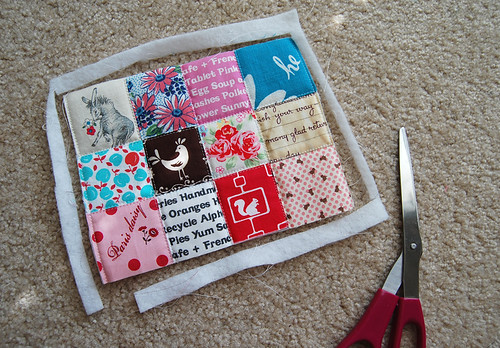
Then we cut off the excess.
Fun part ;)

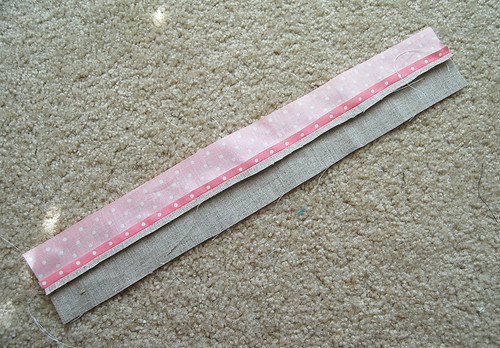
Now let's move onto making a handle.
We need two strips; one linen piece
and one cotton piece. If you'd rather
use cotton for both two strips, I
recommend that you use interfacing.
(Just like how the handles for the
lunch bag are made.)
Once again, this is just like making
handles for the lunch bag and
the fabric basket.
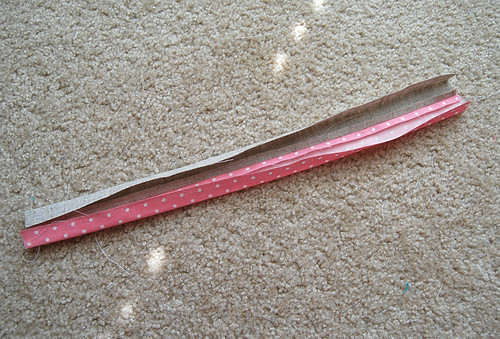
Folding each long edge toward the middle..
Then top-stitching both long edges.
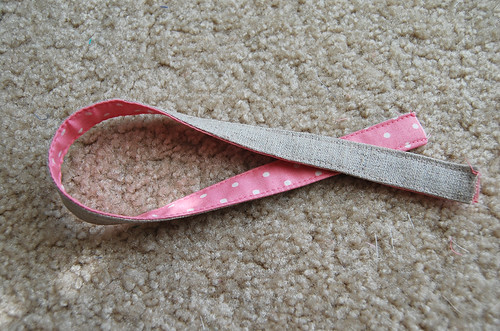
If you want to attach a loop for your
pouch, cut out one rectangle piece
measuring 1" x 4".
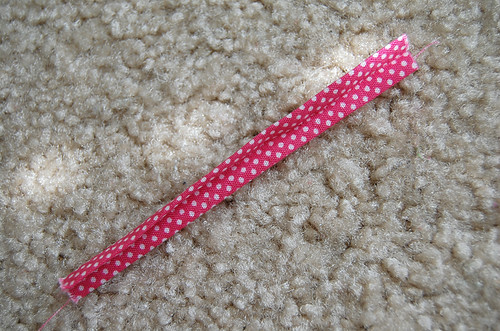
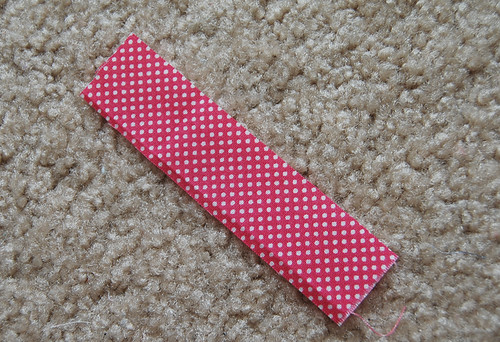
Just like the handle, we fold and
press this piece like this and..
top-stitch both long edges.
We will now machine-baste the handle
and the loop you made onto one of
the patchwork panel close to the
top right corner like this.
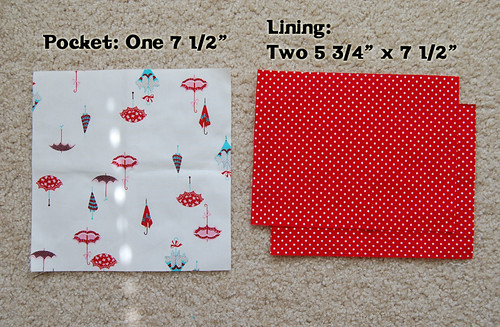
Now let's work on the lining. We need
two pieces for the lining and one piece
for three pockets.
Take the pocket piece, fold it in half
with right side together, and sew the
one long edge together.
So your pocket looks like this.
Not so cute, so let's turn it inside out.
And press. That's much better :D
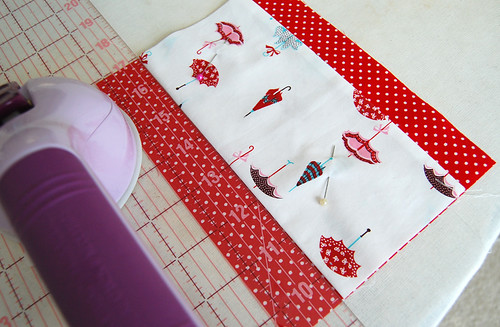
Now take a ruler and one of the lining pieces
to attach a pocket onto. I like to leave
about 1 1/4" above the pocket.
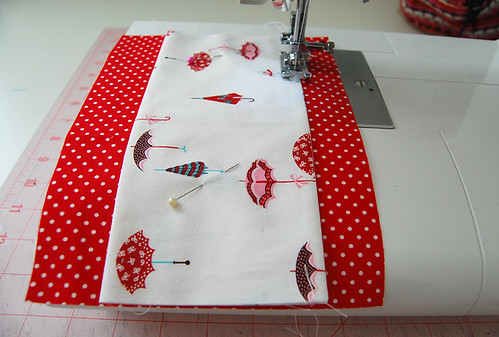
Then sew the bottom edge of the pocket
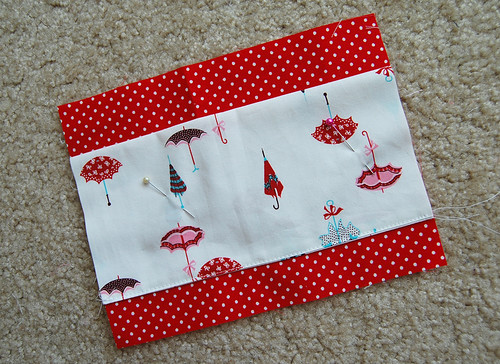
so it looks like this now.
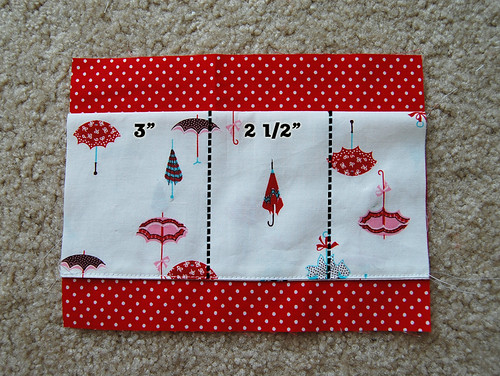
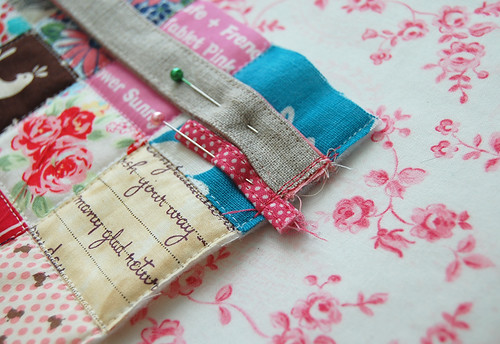
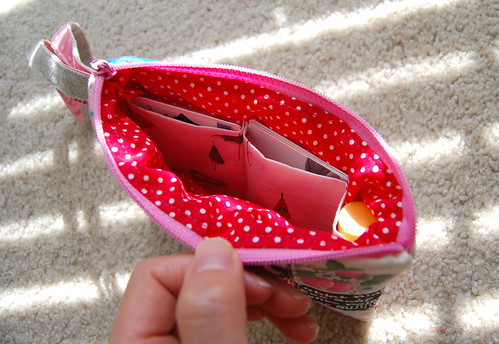
Using a water soluble pen, draw these lines.
The two pockets on the left are going to
be for your cards and one on the right is
for your chap stick, if you like to carry one.
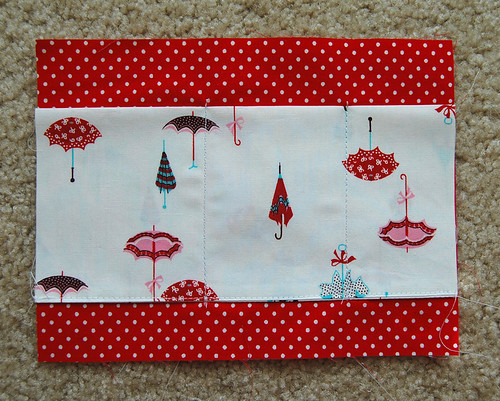
In this image, there is no sewing done at the
short edges of the pockets, but I recommend
you sew very close to those edges just so that
you'll deal with less pins later.
Let's now attach a 7" zipper. I know that
dealing with a zipper is a bit intimidating
for a beginner, (I used to be terrified at this
too) but it is actually not that hard. Trust me.
After attaching a zipper in several different
ways, I found this way the easiest, so if you
are a beginner, I hope you'll follow this
step-by-step instruction ;)
Oh and I have to tell you that Zipit is a great place to
get zippers! The owner Jennie is extremely
nice and generous and her zippers are just
the best! Fastest shipping too :D
I don't think I'd ever buy zippers from
anywhere else. yeah, that's how much
I'm in love with the shop, hehe.
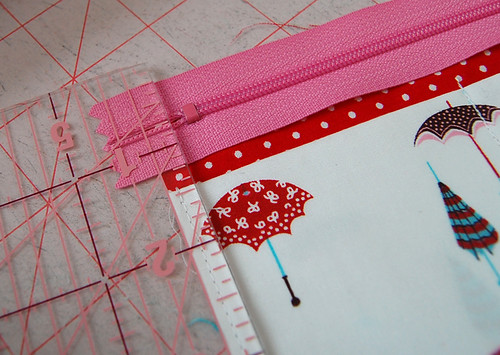
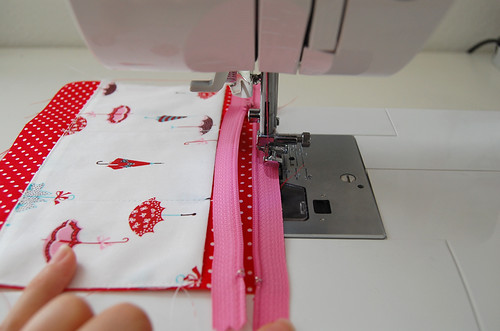
So here, I make sure that there is more than
1/4" from the left edge of the lining piece to
the metal part of the zipper. This way, we can
avoid sewing onto the metal, which will break
your needle instantaneously. (Don't ask me how
many needles I have broken this way, lol)
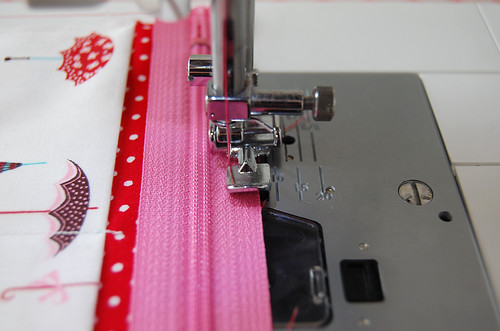
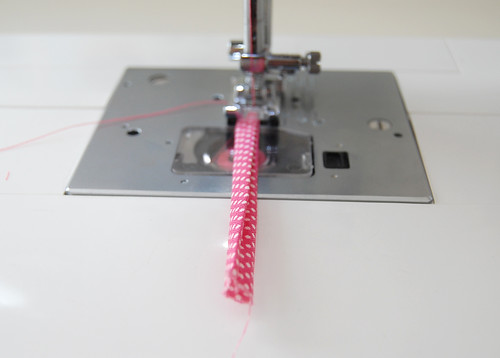
Remember to use a zipper foot that probably came
with your sewing machine that should look like
this one in the image above. With a zipper foot,
start sewing from the end of the zipper.
Here, your zipper is completely closed.
Stop, once you sewed it half-way and lift
up your zipper foot.
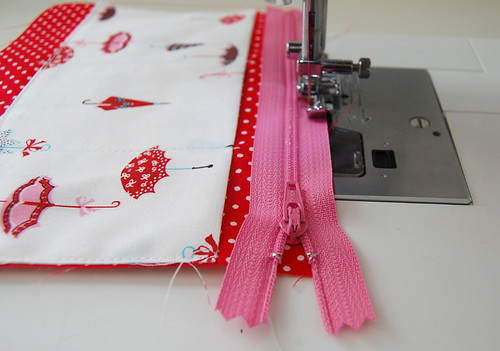
And bring the zipper-head to the very end,
lift down the foot again, and keep sewing.
I've found that it is very important to always
have the zipper-head very far from where I am
sewing. It is quite difficult to keep stitching
straight if a zipper-head is near the foot.
I do this moving-zipper-head for every single
piece I attach to a zipper.

With the zipper completely closed,
we'll attach another lining piece onto the
zipper. This time, we can't really see a zipper,
but as long as you can make sure that the piece
is aligning with the zipper, it's totally fine.
Oh and don't forget to move the zipper-head
when you sewed it half-way just like you did
for the other lining. (I hope I am not annoying
you by repeating this, lol, it's just so
helpful to do it that I can't stress enough.)

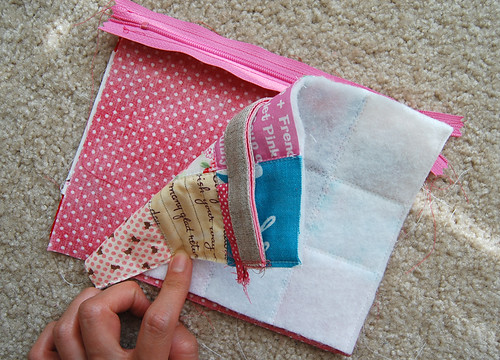
When both lining pieces are attached to the
zipper, it looks like this. Nice :)
Take a patchwork piece that has a handle
and a loop attached. We are sewing
this onto the zipper now.
Like that.
This is how it should look like.
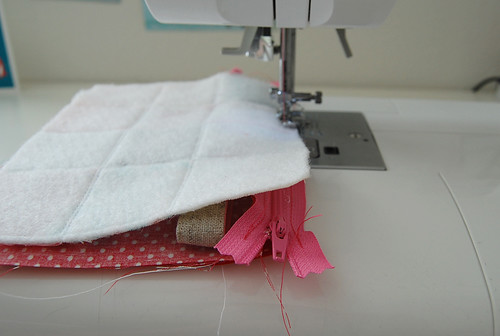
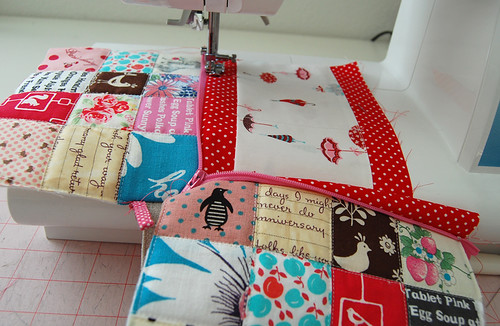
Now we will attach the other patchwork piece.
This time, it's a little different, because
we start off with the zipper completely open.
Then when we come to half-way, we close up
the zipper to keep sewing.
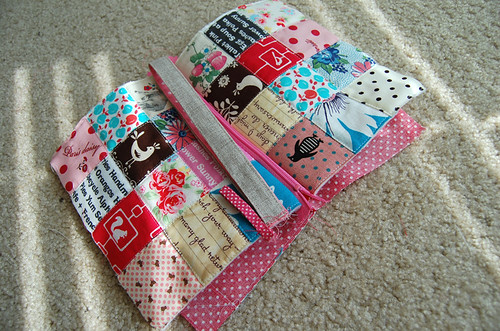
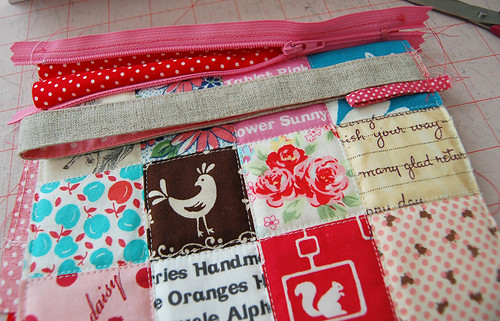
After all the pieces are attached,
it should look like this.
This is optional, but you might want to sew
the top of the lining just to make sure it
won't be too puffy and in your way when you
open the pouch. Here we want to make sure that
in this process, we don't have our patchwork
panel underneath the lining piece being sewn.
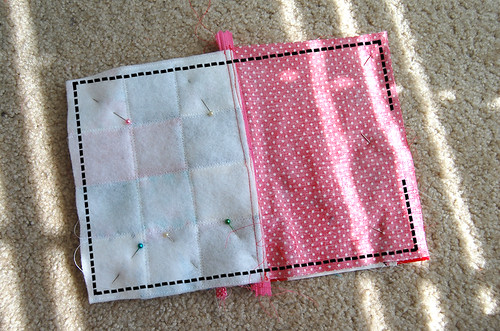
With right sides together, pin both patchwork
panels together and do the same for the lining.
Cut off corners and excess,
and flip it inside out from the opening.
Hand-stitch the opening closed will complete
your wristlet with these three pockets ;)
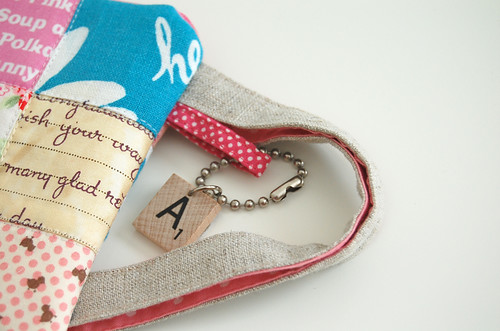
How about adding a key chain here..?
This is so much fun that I really hope
you'll sew up some of these! I am off to
making a few more because I have my old
friends visiting from Japan this weekend!
Oh how I am excited. I am picturing
them with these pouches at the Farmer's market. Yipee!
I'd love it if you
added your finished pouches in this flickr pool ;)
Have a fabulous day!